In this tutorial we make an Arduino-compatible board that holds the microcontroller in a ZIF socket.
Updated 18/03/2013
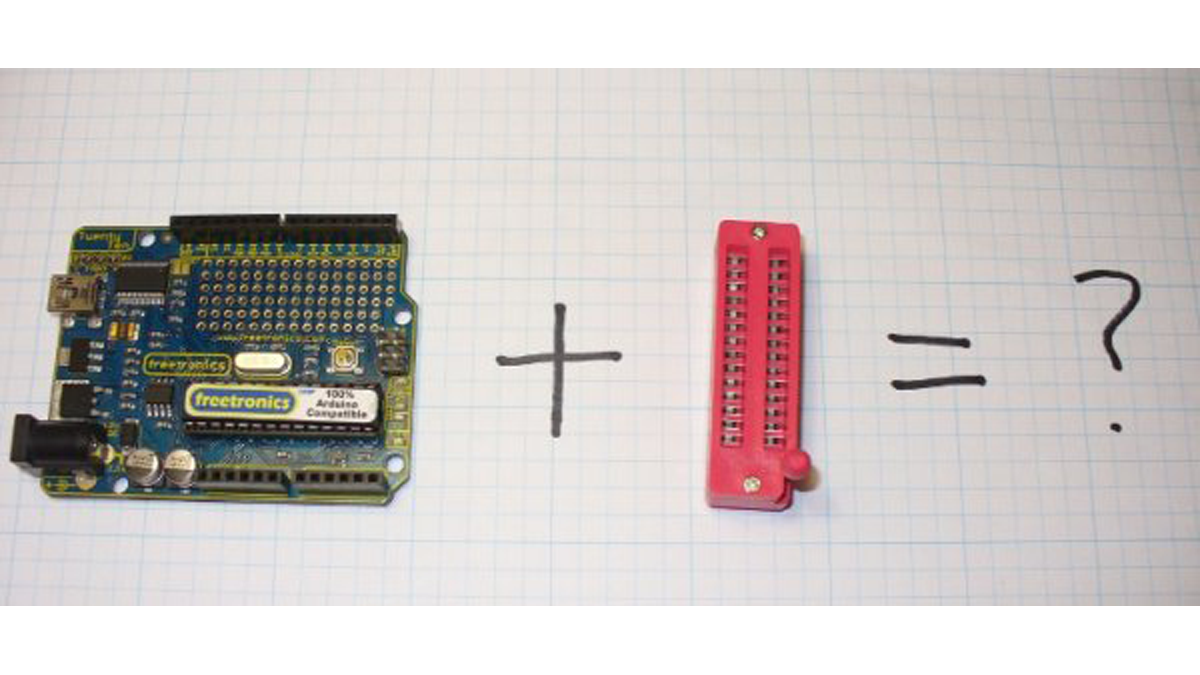
Today we are going to make a different type of Arduino-compatible board, one that has a ZIF (“zero insertion force”) socket. Our reason for making this is simple – now and again you may need to program more than one bootrom with a sketch, for example if you were planning to make your own electronics kits that were based on the Arduino system. Your alternative would be to use a chip puller and constantly insert and remove microcontrollers from your usual Arduino or compatible board – which is bad for the board, bad for the chips (the friction and pressure on the legs, as well as possible static build-up), and bad for your wrist.
So here is our problem – we need a board with a ZIF socket:
The Eleven board is great, but we just cannot squeeze in the socket. So instead, let’s make our own. Like any project, the first thing to do is plan the circuit and make a schematic:
You have to hand it to the Arduino team, they have made things very easy for us. As we are not using this board for day to day use, all we need is enough circuitry to enable programming. In this case, the connection between the board and the PC will be made with an FTDI cable(these offer an interface between serial and the USB port):
Furthermore, we will use the 5 V power supply from the USB port via the FTDI cable as well. Easy! So now it is time to collect the required parts:
You will notice in the photo above there is a button, originally I was going to have a reset button, but after testing it proved unnecessary. Our required parts consist of:
- one 28-pin ZIF socket, 0.3″ width (don’t fall into the trap of ordering the wide one)
- An Arduino bootrom for testing, etc
- one 16 MHz ceramic resonator (easier than using a crystal and two capacitors, timing is not critical as this is only a programming board)
- 6-pin header strip to connect the FTDI cable to the board
- an FTDI cable (the 5v one)
- two 0.1uF ceramic capacitors
- one 10k ohm resistor
- some rubber feet (to protect your desk when using the board
- some veroboard
- hookup wire, some solder, and the usual tools
Before soldering away, it pays to test the circuit on a breadboard. At this stage you can test the operation, program the microcontroller, and test that microcontroller in another board:

Again, you can ignore the button. For testing purposes, I uploaded the “blink” sketch to the microcontroller, then tested that unit in the Eleven. The LED blinked as expected, so all was good. I repeated the process a few times, but uploaded a different sketch every second time, and re-inserted the bootrom between every upload. After ten cycles of doing this, I was confident with the design, so transferred the lot to the permanent veroboard:
[box color=”#985D00″ bg=”#FFF8CB” font=”verdana” fontsize=”14 ” radius=”20 ” border=”#985D12″ float=”right” head=”Major Components in Project” headbg=”#FFEB70″ headcolor=”#985D00″]
Our required parts consist of:
- one 28-pin ZIF socket, 0.3″ width (don’t fall into the trap of ordering the wide one)
- An Arduino bootrom for testing, etc
- one 16 MHz ceramic resonator (easier than using a crystal and two capacitors, timing is not critical as this is only a programming board)
- 6-pin header strip to connect the FTDI cable to the board
- an FTDI cable (the 5v one)
- two 0.1uF ceramic capacitors
- one 10k ohm resistor
- some rubber feet (to protect your desk when using the board
- some veroboard
- hookup wire, some solder, and the usual tools
[/box]
For more detail: ZIF socket Arduino-compatible board