Wanted to make your own robot but couldn’t afford the fancy H-Bridge IC’s or etch your own PCB? Want a quick and dirty method of making your own wheeled robot? Then you’re in luck, but if you want to make your own wheeled robot AND have a quick and dirty wireless controller for anything then you’re REALLY in luck.
Required Items:
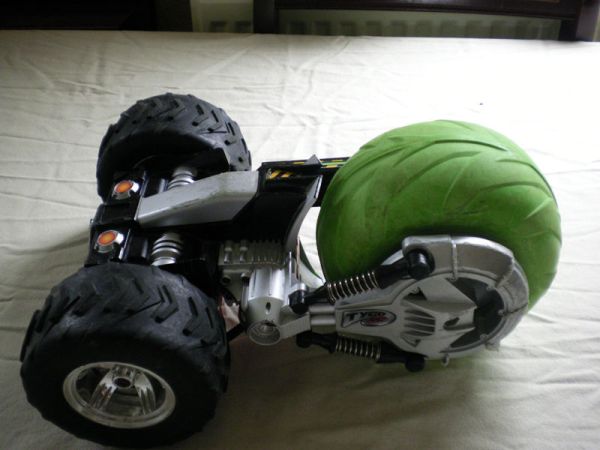
1 Tyco RC Air Rebound
2 Philips Screw Drivers one smaller than the other one, I don’t know the sizes of the ones I used.
1 Arduino Uno
1 Soldering Iron
Plasticard (Not used, but will be used in an update)
Step 1: : Removing Power
Switch the RC Car off and remove the battery by flipping it over (Switch facing down) and rotating the latches, and flipping the cover down. (If the car has already been switched off, or the battery removed, proceed straight to step 2)
Step 2: : Removing the drive wheels
Grip one of the two drive wheels with one hand (To keep them from moving) and with your free hand use a Philips head screwdriver to remove the wheel (Repeat for the other wheel)
Step 3: : Removing the big wheel
Grab the smaller of the two sides (if you have the battery compartment facing up and towards you, it’ll be on the left) Start unscrewing the front wheel (The green one). Once you’ve unscrewed that side flip it over and unscrew the other side.
Then flip it back over so the smaller of the two sides is facing you.
You should see five screws (Four in a square and one in a deep hole) remove all the screws then gently remove the side bar and the main wheel.
Step 4: : Pulling the arm off
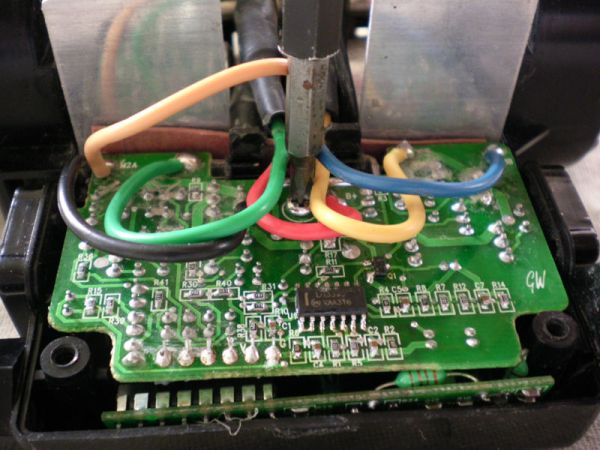
If you wish to keep the receiver module in tact please be extremely careful on this step.
Look at the inside of the remaining bar and you should notice eight screws unscrew all of them then gently remove the shock absorbers and the small plastic shield or ‘hub cap’ to reveal the thin black wire.
Follow the wire gently pulling it free until you can’t pull anymore free then find the three screws holding it to the main body and remove those.
Once all the screws have been removed, gently remove the arm making sure you feed the wire into it so you can pull it free on the other side.
Step 5: : Undressing the body
Now you have the main body remaining.
There are six screws holding both halves of the body together.
Four of the screws are the size we’ve been unscrewing through the previous steps, but two of the screws are slightly smaller, once all the screws have been removed the body just pops apart (Make sure you’ve unlatched the battery compartment)
[box color=”#985D00″ bg=”#FFF8CB” font=”verdana” fontsize=”14 ” radius=”20 ” border=”#985D12″ float=”right” head=”Major Components in Project” headbg=”#FFEB70″ headcolor=”#985D00″]1 Tyco RC Air Rebound
1 Arduino Uno
1 Soldering Iron[/box]
For more detail: Tyco RC Arduino Robot