Hey, I am a big fan of Instructables. I have consistently used it for the past 3 years and now its time for me to write one myself.Here we go. This instructable is for those who want to make some inanimate object tweet automatically. Like say for example you are building a robot and you want the robot to tweet to you or to the world. This obviously means your robot needs to have access to the internet and should have a logic controller. This instructable is specifically about how to use an arduino (logic controller) with wifi shield (the stuff that connects to the internet) to tweet to the world.
Hope you will find it useful.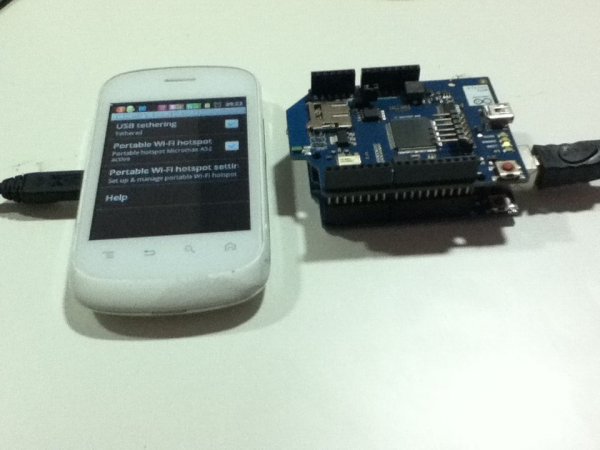
Step 1: Arduino – whats it? (skip if you know)
Arduino is the quickest way you can attach logic to your project. Say for example you want your light outside your room to switch on automatically when the sun goes down. How do you do it. You want some sort of sensor that detects sunlight. You also want your light that you want to turn on/off. Most importantly you want a controller where which can read data from sensor and appropriately command the light to turn on/off . Arduino is one such controller. In fact arduino is the most popular and easiest way to implement your controller.If you are new to arduino you might want to check out this instructable – http://www.instructables.com/id/Intro-to-Arduino/
If you want to get a feel for what are arduino used for and want to spark some ideas – check this out – http://www.instructables.com/technology/arduino/
Here the official arduino website- http://www.arduino.cc/ (you might be a little overwhelmed if you are a complete newbie with electronics. In which case you might want to check out the intro to arduino instructable first)
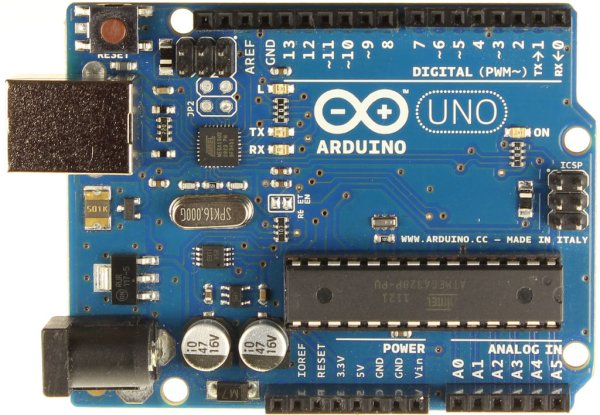
The picture shows two of the most popular arduinos
Step 2: Wifi Shield – whats it? (skip if you know)
The awesome thing about arduino is that the capabilities of arduino is very modular. What this means is that the main arduino board contains the basic functionality. If you want some extra capabilities you add something known as a “shields” to your arduino. Some examples of shields are if you want an SD card or ethernet port or wifi capabilities.The wifi shield is something that was released recently by the arduino community. This is what we are going to be using.
Step 3: Testing wifi shield
You will need the latest arduino software for this. Download arduino 1.02 from the arduino website – http://arduino.cc/en/Main/SoftwareConnect your wifi shield to your arduino controller.
I am going to be using an arduino uno r3 for this instructable. With the arduino uno r3 all you have to do is press fit the shield on uno and you are good to go. If you are using a mega or an older version of uno – you might want to follow instruction on the official wifi shield getting started page – http://arduino.cc/en/Guide/ArduinoWiFiShield
I am going to be using an arduino uno r3 for this instructable. With the arduino uno r3 all you have to do is press fit the shield on uno and you are good to go. If you are using a mega or an older version of uno – you might want to follow instruction on the official wifi shield getting started page – http://arduino.cc/en/Guide/ArduinoWiFiShield
You can test your wifi shield running one of the example codes on wifi library. Run the “scan network” example code which searches for available wifi signals and displays them.
For more detail: How to tweet from an Arduino using the wifi sheild