Starting with robotics can be hard, if you don’t know where and how to start. Best way to start is to make mobile robot. In this step-by-step we will show you, how to make cheap robot with parts available in your local store and household.
Before you start you should make some plans how platform should look like. We did some sketches how robot should look like. Later we made some modifications so everything fit in properly.
I made this robot with my good friend purgec. (http://www.instructables.com/member/purgec/ )
Step 1: Tools and parts
[box color=”#985D00″ bg=”#FFF8CB” font=”verdana” fontsize=”14 ” radius=”20 ” border=”#985D12″ float=”right” head=”Major Components in Project” headbg=”#FFEB70″ headcolor=”#985D00″]
Parts:
– board
– breadboard
– arduino (any one you like, we used mega)
– motors
– fasteners
– Velcro fasteners (hook-and-loop)
Tools:
– screws (for making holes in board)
– knife
– tape
[/box]
Step 2: Markup
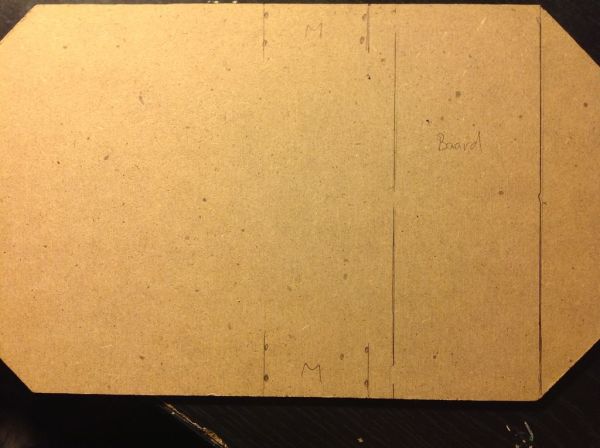
You should start with marking up where everything should be. We did realized, that breadboard is little to big so we modified sketches to fit breadboard on base. Because of that motors must be mounted little bit back then in sketch.
Step 3: Breadboard
We mounted breadboard with Velcro fasteners. This step is one off the easiest. We used fasteners with glue on back side. We just have to cut them down and stick it to base board and breadboard.
In late steps we realized, that we did that too early because fasteners can got messy from making holes.
Step 4: Motors
We used modified hobby servo motors. How to modify a servo:http://www.instructables.com/id/How-to-modify-a-servo-motor-for-continuous-rotatio/
For mounting servo motors we cut holes in base board. After debate how to do it (drill can destroy this kind of board) we cut holes with two screws, smaller and sharper for making holes and bigger to make holes bigger.
For mounting motors in position we used fasteners. Fasteners were cheap, but where to short so we improvise. After this step robot was nearly finished.
How holes were drilled: (video comming soon)
Step 5: Wheels and support
In none of the steps before we didn’t think what we shall use as wheels for our robot. So we improvise again. We used two caps for canning jars and latex household gloves. We glued it to mounts with hot glue. Mount are not in center of caps. We didn’t mind that.
When wheels were mounted to motors, we realized that the vehicle is pretty high. On the back of robot will be a lot of weight so we had to make some a support. Because weight is in back (battery, arduino), there is no need to add any support in front.
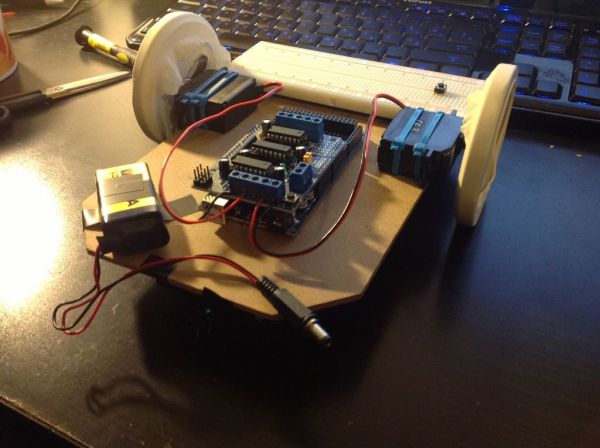
Step 6: Arduino Mega
Mounting arduino is as easy as mounting breadboard. We used smaller pieces of Velcro fasteners on arduino board and bigger one on base board. Main reason of smaller pieces is that they are not in the way if you use arduino in another project.
For more detail: Starting with robotics (Arduino)