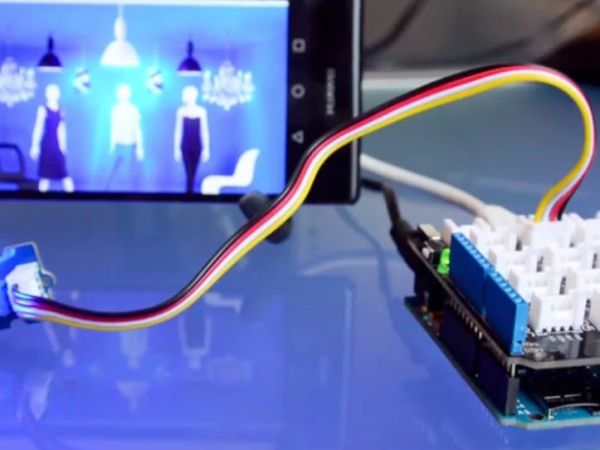
Smart Shop Window
A SmartLiving Experiment where using a QR code to control a light in a shop window.
For this experiment we use a Grove LED (representing the shop’s light) and a Smart phone to access the control switch. It’s an ideal starter project to become familiar with the Arduino, Grove and using your a User Interface for web and mobile to control things.
Difficulty level: 2/5
Schematic
- Scan Qr Code
- Widget to control Window shop
- SmartLiving IoT Platform
- Arduino Grove Shield
- Grove LED
Ingredients
You’ll need basic knowledge how to work with an Arduino, if you’ve never used an Arduino before we suggest the getting started guide.
- Arduino Ethernet
- USB2Serial board
- USB Cable
- Grove Shield
- Grove LED
- SmartLiving Account
- A Smartphone or Tablet able to Scan QR codes (Optional)
The Experiment
Building Plan
- Attach Grove shield on the Arduino Ethernet
- Connect the Grove LED to the D8 Grove connector on the shield
- Connect the ethernet cable to your Arduino
- Connect the power supply to the mains and your Arduino board
- Connect the Arduino to your computer using the USB2Serial adapter and USB cable
Create Your Device
An Arduino is represented as a device in the SmartLiving Cloud, let’s create a device.
- Log in to the SmartLiving Web App
- Click on the Devices icon in the menu
- Click on the add (+)� sign on the right side of the window to create a device
- Enter a device name
Your Arduino device is now created! Click on the circle on the righthand side of your device to see an overview.
Currently your device has no assets. The assets in this experiment include a LED actautor, which will be created automatically by the sketch when the Arduino starts up.
On the right side of the screen, you will see Device Id, Client Id and Client Key which will be added to your Arduino sketch.
The Device Id is unique for each of your devices, this is used together with your Client Id and Client Key to access and identify your Arduino securely and safely.
Upload the Arduino sketch
A sketch is a program that runs on the Arduino and uses an Arduino IDE editor on your computer. You can find the Shop_window sketch in the experiments folder from the arduino-client repo found on Github. If you have already downloaded the arduino-client check out the experiments folder. Otherwise download the GitHub repo (https://github.com/allthingstalk/arduino-client).
- Ensure your Arduino is connected to your computer using the USB2serial & USB cable, and that you’re seeing blinking LED’s on the board.
- Open the sketch in your Arduino IDE
- Adjust the sketch for your account, replace the text between the quoted placeholders with your Device Id, ClientId and ClientKey that was seen when you created your device in the SmartLiving Web App
char deviceId[] = “YOUR_DEVICE_ID_HERE”; char clientId[] = “YOUR_CLIENT_ID_HERE”; char clientKey[] = “YOUR_CLIENT_KEY_HERE”;
- Adapt the MAC address in the sketch with the MAC address of your Arduino(The MAC address can be found on the back of the Arduino)
Once you’ve updated your Id’s and MAC address you can now validate and run your sketch.
In the setup method, you’ll notice the asset for the LED actuator, these are created with the “Device.AddAsset()” function provided from the library. The SensorName, SensorId, ActuatorName, and ActuatorId are used to define the asset which will be created in the SmartLiving Web App. You don’t need to edit any of these details but, ensure the sensor/actuator Id’s are unique in your sketch.
After the sketch has compiled and uploaded you should now see the assets created under your device in the SmartLiving Web App.
Test your Arduino setup
It’s time to test the first part of the experiment.
Click on the Shop Light asset in the SmartLiving Web App.
You should see a widget representing a toggle button. When you change the position of the toggle to ‘ON’, the Grove LED attached to the Arduino should light up. when you change the position of the toggle to ‘OFF’, the LED attached to the Arduino turn off.
Read More: A Smart Shop Window Experiment with Arduino

