COLOUR SENSOR
Previously I have made a colour sensor using Arduino but don’t have the time to update it on my blog. Today I am going to share the details of this mini project. Basically, the sensor consists of three LEDs and Light Dependent Resistor (LDR). The LDR will detect the colour and display it to another RGB LED. Besides display it on the RGB LED, the colour will also display on PC. RGB LED is commonly used in display colours on LCD or OLED such as the monitor and television.
There are actually many methods to detect colour, but using only LED and LDR should be the cheapest way to do this job. Let me explain how this sensor works. First, the LDR has to detect the contrast between black and white surface. To detect the colour, each LED takes turn to shine onto the surface and the Arduino will read the voltage on LDR.
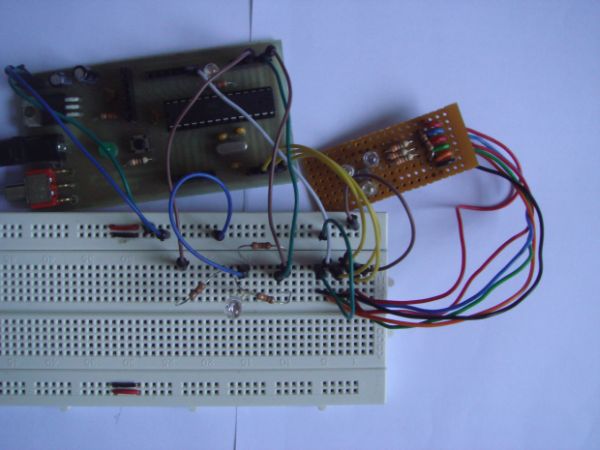
I made the colour sensor on a piece of strip board. It consists of 3 colour LEDs, which is red, green and blue and also a Light Dependent Resistor (LDR).
For more detail: Simple technique of sensing colors using Arduino