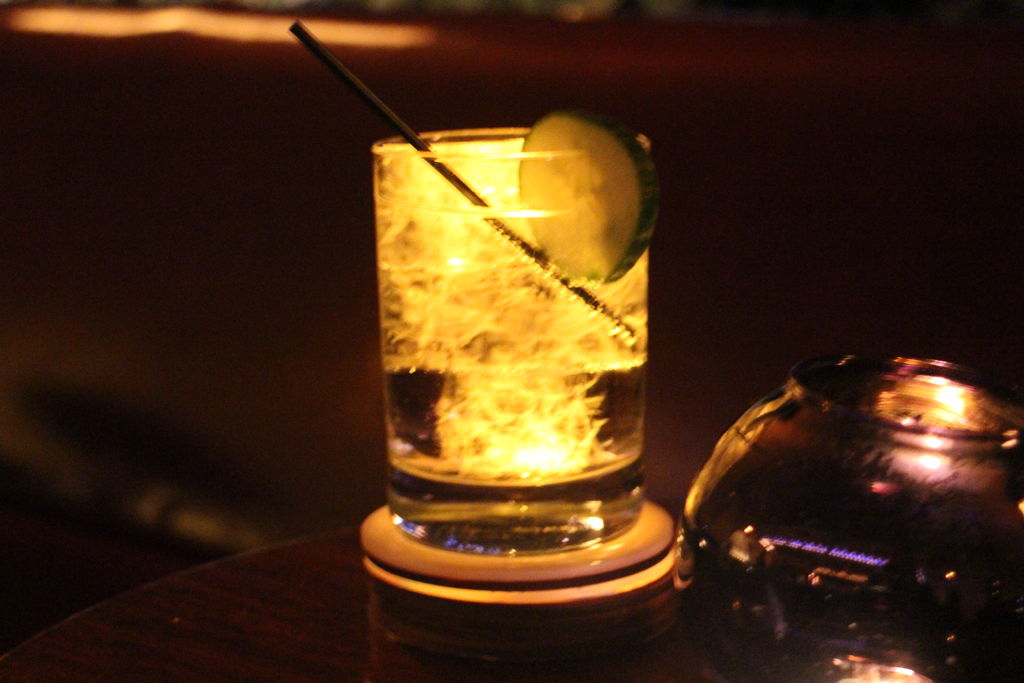
Designed specifically for lounge and club settings, Siduri helps nightlife revelers politely draw the attention of barmaids and helps bartenders to keep the drinks flowing.
The coaster is powered by Ardunio and uses an FSR sensor that recognizes the difference in the weight of a drinking glass. A button located near the base of the coaster allows bar staff to calibrate the coaster to an unlimited amount of drinking glass types into the coaster’s memory. Hidden under the white acrylic top are three surface mount LED’s that breath a soft yellow light when the FSR sensor recognizes when a glass is 3/4 empty. The remaining materials were laser cut out of 1/8” wood to give the coaster a manly, yet classy aged feel.
If you would like to make your own smart coaster, here is how I did it:
Step 1: Materials
Electronics:
1 x Arduino Florabaord
1 x Adafruit Square Force-Sensitive Resistor (FSR)
3 x LED surface mount display RGB pixels
1 x Coin cell battery holder – 6V output with on/off switch
1 x Tactile Button Switch
1 x Resistor 2.7 KOhm
Materials:
6 x wood
2 x white acrylic
6 x wires
1 x insulating tape
Adhesive backed vinyl
Tools and devices:
1 x laser printer
1 x hot melt glue gun
1 x solder iron
Step 2: Draw and sketch out the parts
First I created a diagram of how I wanted to house and layer of the electronic parts inside of the coaster. I did this using the below illustrator file. Each of the parts are sized to scale.
Then I created a storyboard outlining step-by-step how I want a user to interact with it. In each instance I discovered that I would have to make adjustments to my original diagram like including a space for a button, a USB port and external access to the battery power. Edit the file for own purposes. Once you feel like you have all the necessary parts, print them out.
*Note: in the final version the FSR sensor is located on the bottom of the coaster and the battery and flora board are housed on the same level