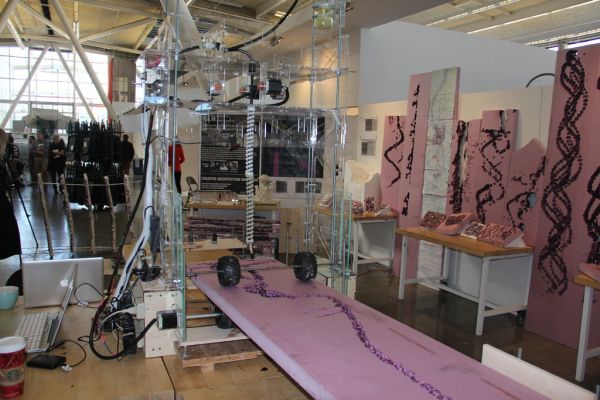
S.A.M. Spring Aided Machining (CNC with solvent) is a school project designed by three architecture students at CCA, San Francisco: Matt Boeddiker, Abelino Robles, and Tim Henshaw-Plath. (www.cca.edu) The machine is capable of rapidly prototyping and creating subtractive formwork that can be used to cast material. The machine was designed with the instruction of Jason Kelly Johnson, and Michael Shiloh in the Creative Architecture Machine class Fall 2013. Tecnically this is a transformative process where by material mass is maintained while volume is reduced ie a global increase in density.
Step 1: ASSEMBLE BODY
First step is to laser cut 1/4 inch acrylic frame. This should include a rigid stable truss to span width of desired length. Our width is two feet and height is about five feet.
Second step is to build basic 1/2 inch plywood frame as foundation for acrylic frame.
Third step is to attach 3/8 inch threaded rod through plywood foundation and connect to acrylic frame using laser cut acrylic pieces or simple zip ties
Step 2: CREATE SPRING
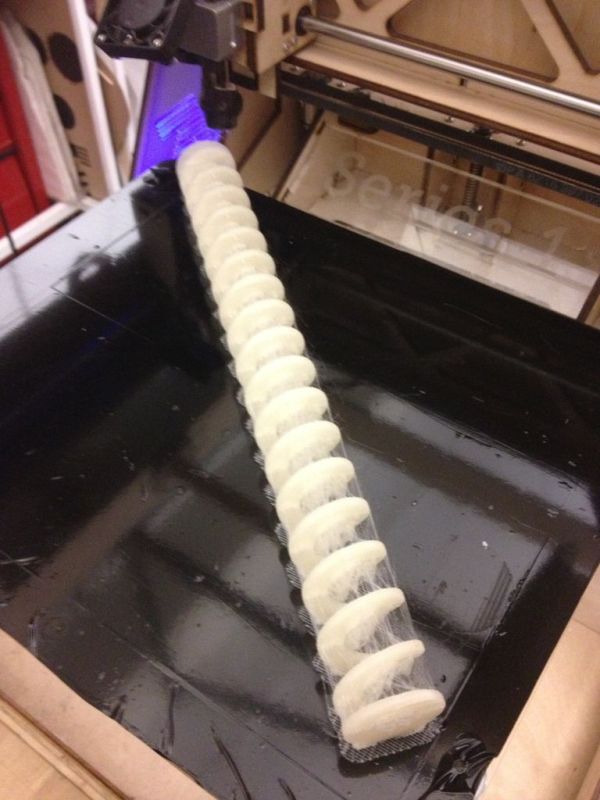
Model a 3D spring that can be printed with PLA.
Make sure that you design a central hole that is wide enough to allow a tube that caries adhesive remover liquid to pass through.
The spring should have 4 small holes that form a square shape, north, east, and south that are used to allow threaded wire to connect spring to motor.
If access to a 3D printer is difficult, a file can be sent to the online ordering company Shapeways to print your spring. (www.shapeways.com)
Step 3: ATTACH DELIVERY SYSTEM
First step is to attach two, motors to the acrylic frame. These motors should be horizontal, and symmetrical to each other.
Second step is to attach a set of knobs to the end of each stepper motoro with a set screw. These hold the wire that pulls the spring.
The third step is to attach a DC motor peristaltic pump to the top of the acrylic frame.
The fourth step is to thread a stainless steal of plastic threaded wire from motor knob to bottom of spring. Tie and close this connection with a jewelry brad.
Fifth step it to insert 1/2 inch fuel line from pump all the way through center of spring to end tip.
For more detail: S.A.M. Spring Aided Machining (CNC with adhesive remover)