Hello!
It has been our Friday tradition for the past few weeks to end with a game. This week we have the Hangman game. In this game the user will be using two Pmod boards, an LCD and Button board to display outputs and generate inputs for the system. The user will be presented with a word that has some letters filled. The user will need to guess letters to complete the word. The words you will be trying to figure out are names of Countries. Your selections (correct and incorrect) will be displayed. The game will let you know if you have guessed the correct letters or have you exceeded the number of incorrect guesses, thus creating the hangman.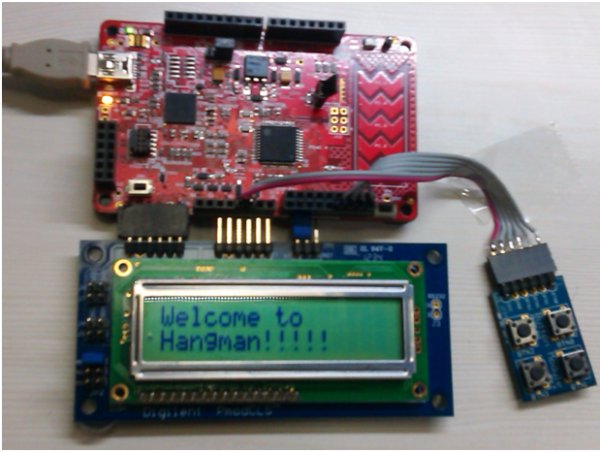
Forum Post Attachments:
At the bottom of this post we are including the following items:
- Example Project Zip File
- Zip File of Images
- Project Schematic
- Component Configurations
Components Used:
The user can download the example project at the bottom of this post. The project uses the following list of Creator Components:
- SPI
- CyPins
- ISR
The components are configured by right clicking on the component in your Top Design schematic view and selecting Configure. Please enable the following selections in the Configuration windows for the listed components above.
Firmware Description:
The main.c firmware is included in the example project. Please review the commented sections for more details.
In this project PSoC 4 interfaces with the PmodCLS – Character LCD which has 16×2 Character Display to provide flexible communications using UART, SPI or TWI to give a visual output. In this example we use the SPI communication method. The example project also interfaces a PmodBTN – Push Button module with PSoC 4 to provide a user interface to the game.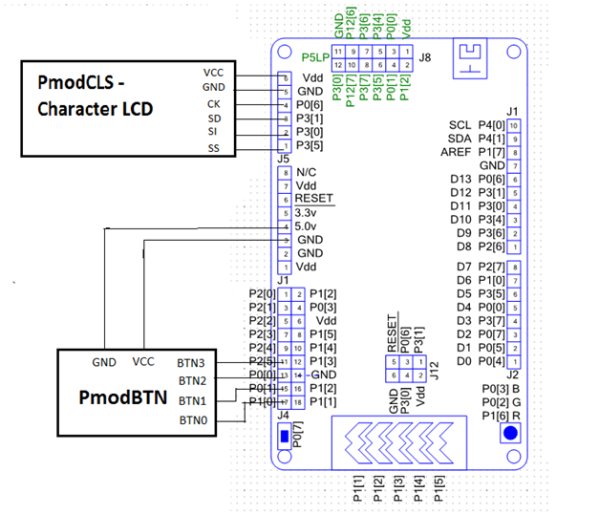
Hardware Connections:
You will need to connect two Pmod modules to the Pioneer board. We are connecting the LCD to the existing Pmod header and having to wire in the second Pmod into the arduino headers. Feel free to use a breadboard sheild for the second Pmod module. The following image provides a wiring diagram for connecting the Pmod boards.
Test Your Project:
Connect your hardware and program your project into the PSoC 4. Follow the LCD screen messages to play the game.
I hope this example can help you in your design.
For more detail: PSoC 4 Pioneer Kit Community Project#042 – Hangman Game