Step 1: Product Details
Supplies
– Aluminum foil tape
– Solid hookup wire
– Ribbon wire
– 2 Arduinos
-12 10 K resistors
– 2 speakers
– 4 sheets of foam board (20 “x 30”)
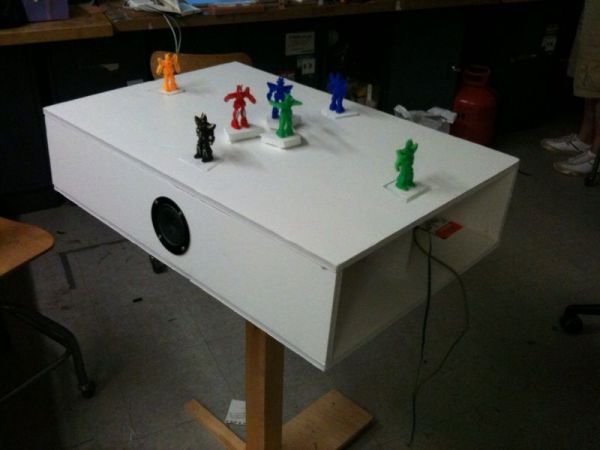
– 7 toy robots (or any other your favorite toy figure)
– 2 8-ohms speakers
– screws/ nuts (to secure the table on a stand. But optional.)
Tools
– Wire stripper
– Utility knife
– Soldering iron/solder
– Solderless breadboard
– Ruler
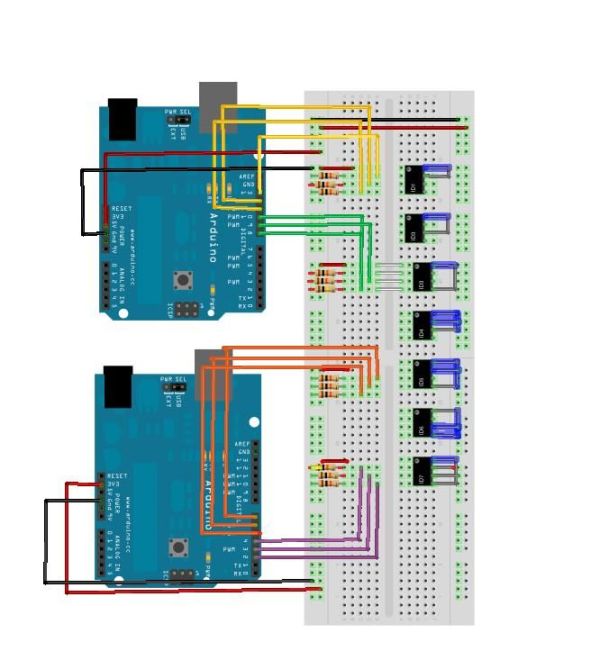
Step 2: Wiring the Table
Make four sets of three 1k pull down resistors that connects Arduino pins (pin 2 – pin 13) to ground. Use different colors of wires for each set to distinguish the groups easily.
- Base1connection: Connects to digital pin 13, 12, and 11 to a breadboard. Add another wire next to pin 13 on the breadboard, and connect it to the power.
- Add pull down resistor (a resistor that connects to ground) between each pin and ground.
- Base2 connection: Leave some space on the board and connect digital pin 10, 9, and 8 to the circuit board and power in the same way as step 1 and step 2.
- Base3 connection: Take the second Arduino board and connect digital pin 7, 6, and 5 to the same breadboard.
- Add pull down resistor between pins (digital pin 7, 6, and 5) and ground.
- Add another wire next to pin 7 that connects to power.
- Base 4 connection: Leave some space below base 3 connection on the board and connect digital pin 4, 3, and 2 to the circuit board and power in the same way as step 4, 5 and 6, except this time the power is connected to a wire next to pin 4.
Step 3: Creating a melody (Arduino)
An Arduino board makes only one tone at a time (I’m sure there’s away you can get around that, leave a comment if you know how). To have more than one notes played simultaneously, I am using two Arduino boards.
Making a melody entails three variables: pitch, duration, and number of notes. The code is based on Arduino/Tutorial/Melody created by Tom Igoe. You can find the code here. A melody is called when if statement condition is met. The if statement searches for the combinations of three digital pins.
In pseudo code
If (Pin 13 == HIGH && PIN 12==LOW && Pin 11== HIGH) {playtone 3; }
In order to make 14 arrays of notes and durations, I created a class of combinations of notes and duration arrays.
[box color=”#985D00″ bg=”#FFF8CB” font=”verdana” fontsize=”14 ” radius=”20 ” border=”#985D12″ float=”right” head=”Major Components in Project” headbg=”#FFEB70″ headcolor=”#985D00″]
– Aluminum foil tape
– Solid hookup wire
– Ribbon wire
– 2 Arduinos
-12 10 K resistors
– 2 speakers[/box]
For more detail: Musical Table using Arduino