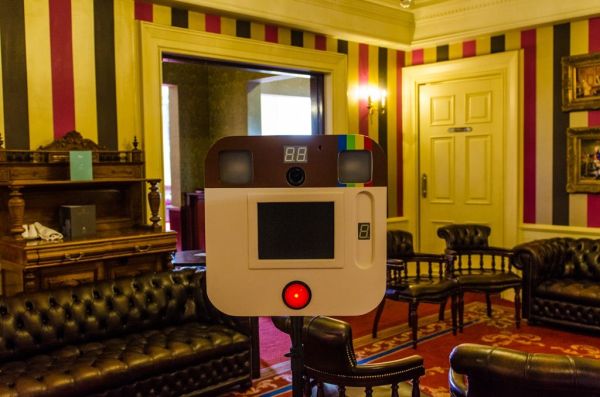
I decided to build a simple photo-booth as a fun addition for events, this goes through the basic steps of how i went from a few pieces of wood to a fully functional booth. I have also included a photo of what the images look like!
Step 1: Cutting Wood
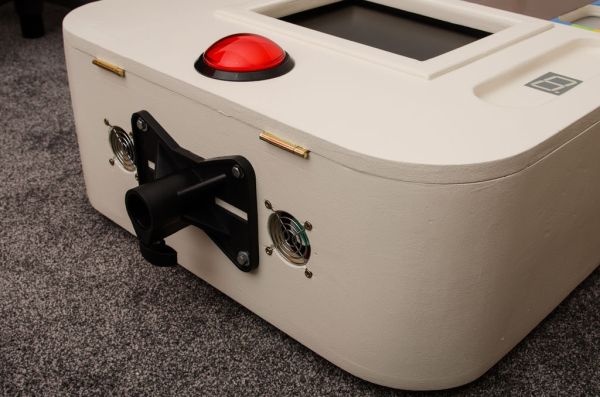
Square sheet of MDF, 600mm x 600mm with a Red Dome Push Button recessed at the bottom.
Step 2: Access Holes
Holes were then cut out for camera lens and tv monitor.
Step 3: Monitor Trim
A wooden frame was then fitted to surround the hole for the tv to add depth.
Step 4: Rounding Edges
Corners were then curved using a jigsaw.
Step 5: Fitting Sides
Sides were then cut just short of where the corners start to bend. Screws and 90 degree brackets temporarily attached them to the back piece.
Step 6: Building Corners
The rounded corners were made from short strips of wood, glued to form the rough shape of the corner. These were also temporarily screwed and attached using 90 degree brackets while the glue dried.
For more detail: Instagram Inspired DIY Photo-Booth using Arduino