Story
In this tutorial I am going to show you how to build a Voltmeter with a big Nokia 5110 LCD display using Arduino.
Building a voltmeter is a great learning experience. When you finish building this project, you will have a better understanding of how voltmeters work, you will refresh your knowledge of Ohms law and you are going to see in action how powerful the Arduino platform can be. With this project as a base and the experience gained, you will be able to easily build more complex projects in the future.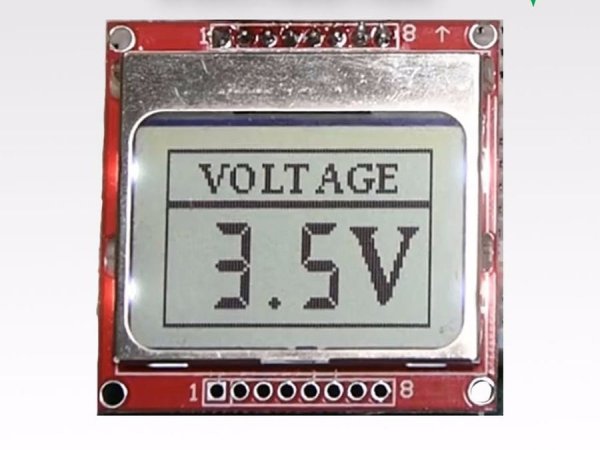
You can use this project to measure DC voltage from various electronic circuits or monitor the battery state of your Arduino projects easily. Also, with the knowledge gained you can easily build your own voltage sensor to create a custom voltmeter that fits your needs.
Without any further delay, let’s get started!
Step 1: Get All the Parts
The parts needed in order to build this project are these:
The cost of the project is very low. It is about 10$.
Step 2: The Voltage Sensor Module
Let’s see how this sensor module works. This voltage sensor is very simple and it can measure DC voltage from 0-25V. It consists of only two resistors! You can build your own easily if you wish, or you can buy this module sensor with less than a dollar if you want something already built. This is how it works. This sensor is actually a voltage divider. A voltage divider circuit is a very common circuit that takes a higher voltage and converts it to lower one by using a pair of resistors. The formula for calculating the output voltage is based on Ohms law. Please check the attached image.
In this module, the R1 is 30.000 Ohms, the R2 is 7500 Ohms. If we put 25V on the input and if we make the calculations, we get 5V at the output! And that’s the maximum voltage an analog pin of Arduino can handle. So, if we exceed 25V at the input, we will burn the Analog pin of Arduino. If we put 0 volts in the input we get 0V at the output. So, if we put any voltage from 0-25V at the input we will get a voltage from 0-5V at the output.
The Arduino Uno has a 10bit ADC so the resolution that we can achieve using this sensor is 25mV. If we use an Arduino Due, we can achieve even better resolution since it has 12bit ADCs. But, of course, we need to build our own voltage sensor, because the Arduino Due board uses 3.3V logic levels, and any voltage beyond that will destroy its analog pin.
Step 3: Nokia 5110 LCD
The Nokia 5110 is my favorite display for my Arduino Projects.
The Nokia 5110 is a basic graphic LCD screen which was originally intended for as a cell phone screen. It uses the PCD8544 controller which is a low power CMOS LCD controller/driver. Because of this this display has an impressive power consumption. It uses only 0.4mA when it is on but the backlight is disable. It uses less than 0.06mA when in sleep mode! That’s one of the reasons that make this display my favorite.
The PCD8544 interfaces to microcontrollers through a serial bus interface. That makes the display very easy to use with Arduino. You only need to connect 8 wires and use the following library: http://www.rinkydinkelectronics.com/library.php?id=47
This impressive library is developed by Henning Karlsen, who has put forth a huge amount of effort to help the Arduino community move forward with his libraries.
I have prepared a detailed tutorial on how to use the Nokia 5110 LCD display with Arduino. I have attached that video in this tutorial, it will provide may useful information about the display, so I encourage you to watch it carefully.
For more detail: DIY Voltmeter with Arduino and a Nokia 5110 Display