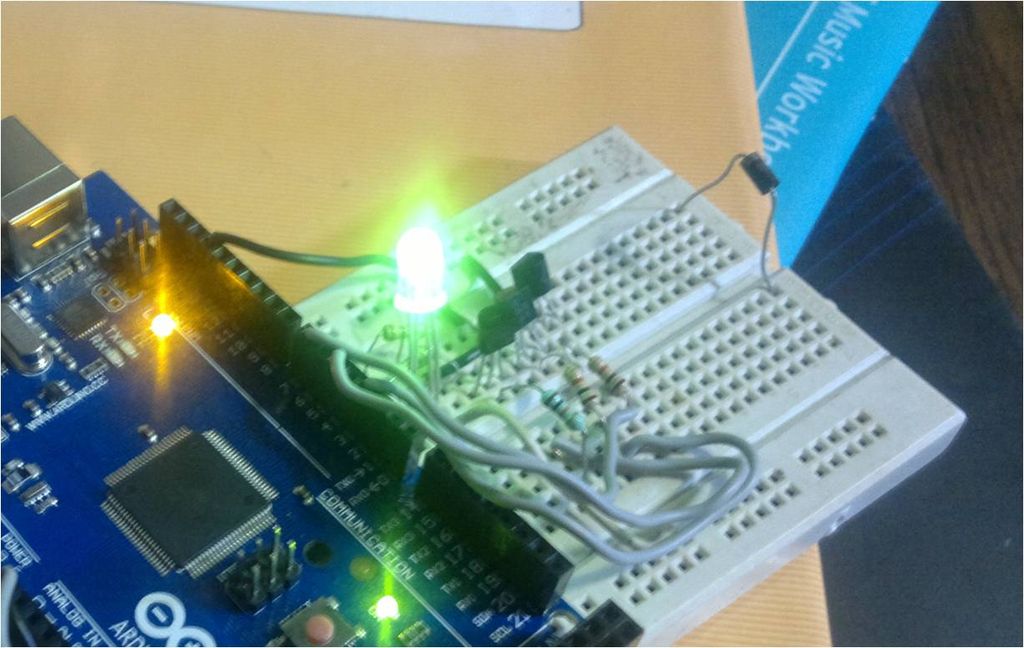
Hello everyone!
This instructable is a tutorial that will guide you on using the Capacitive touch sensors with Arduino. A Capacitive sensor is a kind of touch sensor, that requires little or no force to activate.
In this Instructable about capacitive touch sensing, I’ll show you:
- How Capacitive Sensors work
- How to use them with an Arduino
- How to implement them in 3 Arduino projects, that are included in this Instructable
- How to use the CapSense library- which is used in the first two projects. I’ve also included the demo code and it’s explanation for the CapSense library…
Skills Required for these projects are minimal:
- Basic knowledge of electronics and arduino.
- Soldering (optional)
So let’s get started by first getting to know what this Capacitive touch sensing is all about!
Step 1: About The CapSense library and Capacitive Sensing…
For most capacitive sensing related projects, I used the CapSense library. The arduino playground has a good explanation of the Capsense library. However, if you are a novice in Arduino, I’ m pretty sure you’d understand only half of what’s written there. Therefore here I have a simplified explanation…
Capacitive Sensing:
Capacitive touch sensing is a way of human touch sensing, that requires little or no force to activate. It may be used to sense human touch through more than a quarter of an inch of plastic, wood, ceramic or other insulating material (not any kind of metal though), enabling the sensor to be completely visually concealed.
Why Capacitive touch?
- Each touch sensor requires only one wire connected to it.
- Can be concealed under any nonmetallic mmaterial.
- Can be easily used in place of a button.
- Can detect a hand from a few inches away, if required.
- Very inexpensive.
How does it work?
The sensor plate and your body forms a capacitor. We know that a capacitor stores charge. The more its capacitance, the more charge it can store.
The capacitance of this capacitive touch sensor depends on how close your hand is to the plate.
What does the Arduino do?
Basically the arduino measures how much time the capacitor (i.e the touch sensor) takes to charge, giving it an estimate of the capacitance.
The capacitance may be very small, nevertheless the Arduino measures it with accuracy.
One way of using capacitive touch in a project is to use the CapSense library. For the Capsense library, the arduino uses one send pin and any number of receive pins required. A receive pin is connected to the send pin via a medium to high value resistor.
Here are some guidelines for resistors but be sure to experiment for a desired response.
- Use a 1 megohm resistor (or less maybe) for absolute touch to activate.
- With a 10 megohm resistor the sensor will start to respond 4-6 inches away.
- With a 40 megohm resistor the sensor will start to respond 12-24 inches away (dependent on the foil size). Common resistor sizes usually end at 10 megohm so you may have to solder four 10 megohm resistors end to end.One tradeoff with larger resistors is that the sensor’s increased sensitivity means that it is slower.
*These resister value guideline is only for using the CapSense library. The last project doesn’t use this library.
Summary: Capacitive touch sensors require little or no force to activate. The CapSense library can be used to make multiple touch sensors with Arduino.
Step 2: CapSense Library Demo Code…
Here is an explanation of the demo code for the CapSense library.
CapacitiveSensor cs_4_2 = CapacitiveSensor(4,2);
You can replace ‘cs_4_2’ with any other name. ‘4’ is the send pin, ‘2’ is the receive pin.
void setup() {
Setup runs only once.
cs_4_2.set_CS_AutocaL_Millis(0xFFFFFFFF);

 // turn off autocalibrate on channel 1 - just as an example
Serial.begin(9600);}
Begins Serial Communication at 9600baud…
long total1 = cs_4_2.capacitiveSensor(30);
The above statement is declared in ‘void loop ()’. When using a 1M resistor, total1 will less than or about ten. When touched, it becomes more than 60…
Serial.println(total1);
Sends the value of total1 to the Serial window of the computer…
The important parts of the code are explained. This isn’t the full code; the full one is in the attachment below. Skip the step if you think the code is easy.


 CapacitiveSensorSketch.pde