Good news, everyone!
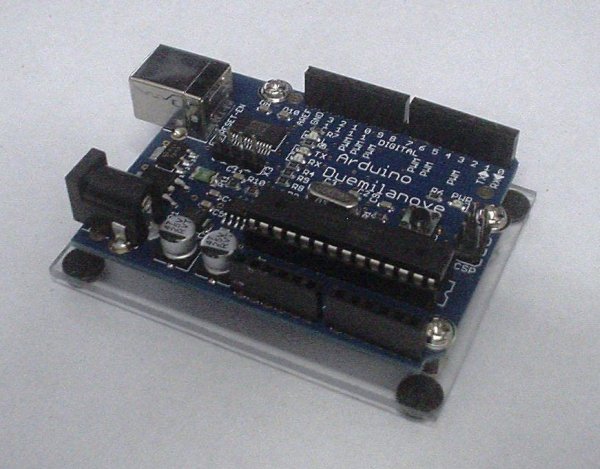
I just started with the arduino and right at the very beginning I felt that I needed some sort of base to put the arduino on. I was reading one article from ladyada (http://www.ladyada.net/images/arduino/bumperplace.jpg) and she was using some rubber bumpers on the bottom of the board. I thought about that and decided to make myself some sort of a holder.
These are the instructions how to make that arduino holder.
Thank you for checking it out.
Step 2: Cutting process
Before we start cutting we have to know what size we are cutting, so the first thing is to measure the board. In my case I need to cut my piece of acrylic 2.5″ X 3″.
After defining the measures I mark them on the acrylic.
Once I have the line on the acrylic it’s time to cut. Here I’m using a hacksaw to do the job. You can use a dremel as well.
Don’ t forget to sand the edges. 🙂
Step 3: Installing the pegs and standoffs
Now it’s time to start drilling and assembling things.
Now that you have your piece of acrylic cut to size put the arduino board back, let’s mark the positions of the holes. Using a sharpie pen mark where the holes are to be located.
Now we can start drilling. Using the 1/8 drill bit and a piece of wood under the acrylic let’s start drilling. Remember to drill slowly, this way you reduce the chances of cracking the acrylic.
Once all the holes are drilled you can remove the protective plastic from the acrylic and we can start installing the standoffs.
During this step be nice and don’t push the standoffs too much. Tighten them slowly and when they reach the end STOP. Otherwise you will destroy the threads and your acrylic will be pretty much useless. BE nice and gentle (Well, you know the joke, right???). LOL
After you finish with the standoffs just flip the acrylic around and install the rubber bumpers at the bottom.
[box color=”#985D00″ bg=”#FFF8CB” font=”verdana” fontsize=”14 ” radius=”20 ” border=”#985D12″ float=”right” head=”Major Components in Project” headbg=”#FFEB70″ headcolor=”#985D00″]
Materials and tools
Parts are simple. This is what I used:
– piece of acrylic (2mm);
– motherboard computer standoff (6/32 thread);
– rubber bumpers.
For tools this is what I used:
– drill;
– drill bit (1/8″);
– hacksaw;
– ruler;
– pen;
– socket wrench.
Remember that besides acrylic you can use plywood, Formica etc.
[/box]
For more detail: Arduino holder