I learned that one of my nieces had an interest in programming. She was working with robotics at high school and has a summer internship where they had Arduinos. I think she was able to borrow an Arduino to experiment with at home but every Maker knows that is not the same as having a piece of kit that is yours to own…and possibly destroy, well, not intentionally, maybe, in some cases, never mind.
So according to the Good Book of Ibles and “The Unwritten Uncle Rules of Spoiling Your Nieces and Nephews Unless They are Brats”, I should be putting together a kit to give to her to further her aspirations as a Powerpuff Engineer or Engineer Minion. Really, it doesn’t matter who you are, especially young ladies, the world needs more thinkers and engineers to keep it running.
Putting together a beginner kit fror programming an Arduino is also putting together an intro kit to electronics. The programming of the Arduino allows it to interface with the real world by using electronic sensors or switches for input. It provides feedback by causing motors to move, sounds to emit from speakers, or causes LEDs to blink or turn on. Practical application of theory is always better to learn from.
This Primer will explain what it takes to put an Arduino Beginner and Basic Electronics kit together to get someone going. It may not be inclusive of everything but essentials to get started. Actually, this is all the extra stuff I had laying around to share. If you take a look at all of those beginner sets, they are kinda pricey and will probably be paying more just for the convenience.
DISCLAIMER: I will probably drop a lot of brand names in this ible. Any recommendation or opinion is based on my personal experience so YMMV. I don’t get any kickbacks or anything…but it would be nice 😉
I am not an electronics expert, but I do play one on Instructables. I know enough to be dangerous, the rest I google.
Step 1: Some stuff does not fall off the truck…
As a hoarder Maker, parts can be sourced from a lot of places. As a cheapskatefrugal dad, it took a long time before I decided to pull the trigger and get an Arduino. Looking back, it’s kind of like getting an ink-jet printer. Relatively low cost initially for the printer itself but the accessories/disposables, the ink or all those additional electronic components can add up. Yeah, just like those American Girl dolls too.
Sources
Part of the cost of a product is the support of the company once you get it in your hands. Electronic components do fail sometimes and it could be that way out of the box. It could be you only notice it acting wonky after you use it. Warranties and returns are honored by good businesses.
Get a genuine Arduino.
I always try to get two. One to use and a backup.
I got my Arduinos at my local MicroCenter when I saw them on sale…browsing with all the other geeks.
Some reputable places to get your Arduinos and electronic components are:
Adafruit
Maker Shed
Sparkfun
Mouser
Digikey
Jameco
RadioShack
and yes, that old guy on Canal St, NYC, tucked away in back of one of those tourist trap mini-malls.
McMaster-Carr , more for the mechanical type parts and materials
Dollar stores
Sniffing out bargains means that you will always find something that may be remotely useful in your projects. Deep discount or liquidation stores yield some unique items or stuff that begs to be hacked. I have gotten sets of LED candlelights to hack for it’s flickering effect LED, bicycle safety flashers to gut for its LEDs and electronics, dome lights to make giant easy buttons, and cheap toys to hack.
ebay
I’ll admit, I get a lot of stuff off of ebay because of the price. I haven’t tried any outside of the US sellers or those dirt-cheap import electronic sites yet because I still don’t trust my mailman to get the mail delivered across town, no wonder they are in such sad shape. If you have the patience to wait several weeks for delivery of a mystery package, then go for it. Know what you are getting into and have realistic expectations of the quality of the goods. I do have some stories about regular packages that were not delivered on time and took a diversion on the way.
Take the seller ratings with a grain of salt and read through the negative feedback comments to see if there really is a problem. Know how to scope out and price your goods. Buy in bulk if you need those items. Bigger lots work out to less cost per item. Know how to put in the bid at the last second. Become an ebay sniper to win auctions. Know when to “buy it now” to guarantee you will have the item. Look through the bid history to size up your opponents. Take up the “best offer” and place a reasonable amount. Don’t forget to figure in the shipping costs or free shipping as part of overall what you will pay. It really helps to have a Paypal account set up for payments.
Alternate Sources
Hand me downs
I got me an ipod. Ipod Classic. Don’t be afraid to try to fix up stuff. I find value in buying factory refurbished items.I look at it as a second factory check to make sure it is good to go.
Samples
I dunno, I guess you can sign up in places as a business that would evaluate the product but I don’t know if the effort is worth it or that the selection of the parts you get would even be something you could use.
Scavenging, Salvaging, Scrounging, Harvesting…
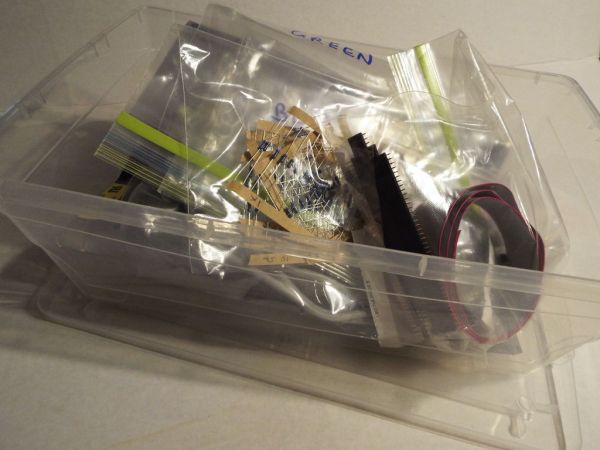
I have put a lot of electronics out to pasture in the recycling bin. You can get some parts off of old circuit boards but you have to invest in the time to figure out what they are and then warehouse your parts so you know you have them. Larger components like motors, potentiometers or transformers I can deal with but unmarked resistors and capacitors are not worth my trouble. Clipped leads after desoldering are hard to work with and those surface mounted parts (SMT), good luck.
Step 2: Arduino
There are a lot of variants of your basic Arduino. Arduino is the trademarked name of the product but you will see other companies trying to market their copy under some -ino ending name to capitalize on its popularity.
Being an open source design there are many derivatives and plain outright “fakes” on the market.
Get a genuine Arduino (pronounced Ar-Dwee-no, Italian in word origin like its other models, Duemilanove(2009))
Trust who you can buy from and get it from some place that will support the product once it is in your hands. There are actually counterfeit IC chips out there and the quality of the solder work or component tolerances can vary enough to make your board wonky.
Quality control in electronics products can still sometimes miss the one you get or it gets damaged during shipping but is more questionable when you do not purchase a genuine Arduino. It is extremely frustrating to troubleshoot problems when it is hardware related and need the seller to replace it.
So which is the best beginner Arduino to get? Depends.
The UNO has been a good starter for me. It has enough input/output data pins for basic projects. It doesn’t need an addtional FTDI adapter cable to communicate with the computer in order to program it. It can be powered directly through USB or a battery pack.
There is a lot of sample code and projects already out there based on it so it needs no modification to run. The MEGA version has a lot more I/O pins to use. There are other variants which try to repackage the Arduino into a smaller form factor. The UNO R3 (UNO Revision 3) is the most current version of the standard Arduino.
The newer “Leonardo” versions use a new main chip that combines the USB functions from another chip. The Adafruit Flora is based on that new chip and there are some quirks in using it.
There are also other microprocessors out there like the. PICaxe or STAMP. They have their own method of programming and use which may be a bit more complicated. There is also the ATTiny set of chips (ATTiny45, ATTiny85, ATTiny2313, etc.). You can use an Arduino to program these chips to function as a tiny Arduino albeit with some restricted functionality. It is a low cost alternative to replicating your project. Arduinos are based on the Atmel AVR chips.
Raspberry Pi and Beaglebone are other microprocessor boards you may have heard about. They are more full featured boards using a version of the Linux operating system. They should be considered if you are advanced and willing to deal with something more complex.
Step 3: Computer before the Arduino…
How do you program the Arduino?
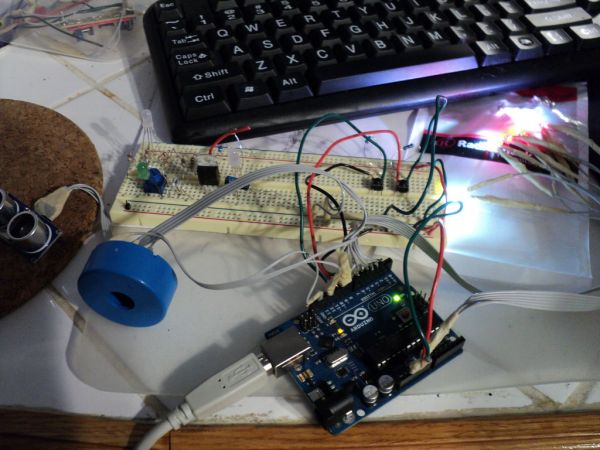
There is software, the Arduino IDE (Integrated Development Environment) that you download from arduino.cc There are many tutorials and examples of Arduino code on the site to get you started. The IDE is loaded with a bunch of sample code. Blinking an LED is probably the first thing you will do to confirm that your Arduino is working and you can upload a program to it. Arduinos usually have an onboard LED to blink(addressable pin number may be different) so you can do something right out of the box once it is connected to your computer.
The software allows to to create, compile, upload, and communicate with your Arduino through the USB cable.
The IDE runs on Windows and Mac. I think it may work in Linux but you have to research how to get that going and deal with the issues that come along.
“Processing” is the name of another IDE that is sometimes used in conjunction with the Arduino. I have it installed to run the graphical monitor which interprets my Arduino pulse sensor data coming through the USB serial port.
Advanced users can code in something else like C programming.
Some add on components may require you to load the associated libraries or code blocks needed to run the device such as a GPS module. Optional items may come on breakout boards(connection pins are extended on a tiny circuit board to make it easier to use) or shields(circuit boards with header pins to mate up with the Arduino board and stacking on top of it).
You may hear “Get it on GitHub”. The GitHub website is a central repository of code, diagrams, and schematics. Open Source Software and Open Source Hardware are other concepts in the Maker world that you should read up on.
For more detail: Arduino Beginner and Basic Electronics Kit Primer