My questions for the Make-to-Learn Youth Contest 🙂
What did you make?
This goal of this project was to take commonly available electronic equipment and create an inexpensive, self-controlled vehicle. In simpler terms, this is an attempt at basic autonomy. It uses an arduino logic board coupled with a cheap remote control car along with a 9 volt power supply to accomplish this.
How did you make it?
The idea came to me while I was researching infrared sensors and light for a laser synth project I was planning. It seemed to me like a very viable technology for sensing objects, so after a little more research into motors and how I could control them with analog input, this project was born.

Where did you make it?
Without my school classes, I might never have done this. It was an assignment to come up with something cool involving computers, with a fair degree of freedom. I settled with an arduino-based project. Much of the programming and testing was done on the floor of my classroom, and the construction of the car in my bedroom. It took over my life for a week or two, all I was thinking about was bugs in my code and better methods of measuring and processing the infrared.
What did you learn?
Most importantly, the input of others is an invaluable source of ideas and solutions. Whenever I came to a halt in my production, a classmate might chime in and say something I had not previously thought of, like measuring the resistance across the car’s motors to see if some object had stopped the car. This is one of the more challenging projects I have completed, and the first to really combine hardware and code, which I feel is a great accomplishment. Looking back, I could have used a bit more planning and done more research (rest in peace, poor LEDs) so that I had less issues.
This car uses an arduino logic board to process the input from an infrared sensor at an attempt at very basic collision detection/prevention.
This project was only marginally successful. Do not attempt this with high expectations. The low-tech nature of the sensors are very inefficient ways of detecting objects, and in different environments may work better or worse with the code provided. This is only a general guide, modifications will be necessary to make the car work as intended depending on your choice of parts.
That being said, hopefully you’re able to make it work a little better than I did!
Step 2: Teardown
Your first step will be taking everything out of the car. Remove screws securing the body of the car to the chassis, then remove all circuit boards from the car. The motors should be left in their place, this projects only requires the chassis, wheels, and motors to function properly.
Step 3: Preparing The Sensors
It’s time to begin preparing the electronics. To begin, solder a 100 ohm resistor to either lead of your IRED. Solder wires to the other end of the resistor and the other lead of the IRED.
Next, solder two lengths of wire to both leads of your IR Detector.
Check your motor wires, make sure each terminal of the motor has at least 4-5 inches of wire depending on the size of your car.
Step 4: Securing the Arduino and Sensor
After clearing some plastic off the chassis, I chose to use some small zip ties and holes in the chassis to hold my arduino to the car.
Next, you’ll want to choose a location on the front of the car for your emitter and detector. You’ll want to make sure they are level with the ground, and possibly consider adding heat shrink tubing around the emitter to prevent some light from hitting the detector before it reaches an object.
Another consideration would be to add another set of leds on the back of the car to avoid obstacles while backing, but are not included in this instructable.
Once you have glued your leds in place, go to the next step.
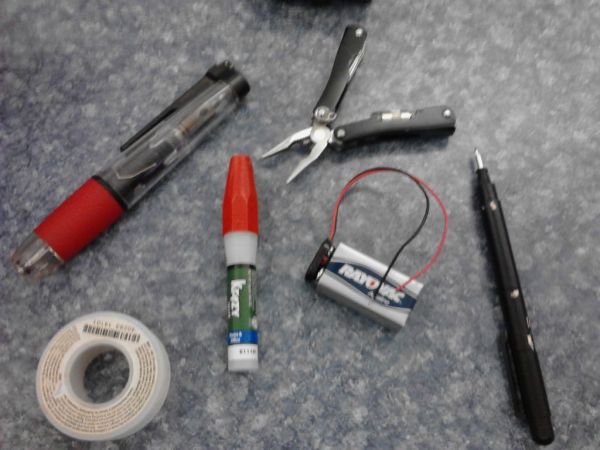
Step 5: Power Supply
This project will run off of a single 9v battery. Take your switch and solder one piece of wire to a pin, and the positive terminal of the battery to another pin.
After this, secure your battery with double sided tape, zip ties, or any other method you prefer.
Mine fit nicely into the cars original battery compartment.
To extend the life of the car you might also connect two batteries in parallel.
[box color=”#985D00″ bg=”#FFF8CB” font=”verdana” fontsize=”14 ” radius=”20 ” border=”#985D12″ float=”right” head=”Major Components in Project” headbg=”#FFEB70″ headcolor=”#985D00″]Important Stuff
Arduino
Arduino Motor Shield*
RC Car**
Solder
Soldering iron
Infrared Emitter (IRED)
Infrared Detector
9v Battery with clip
Power switch
General Tools
Screwdriver
Glue of some sort
Copious amounts of wire
*Note: If your car of choice contains a large controller chip, it is likely the TX2 or RX2 chip. If so, you can save a lot of money and use the motor controller built in to the car to control it. Techbitar provides a good tutorial for that here: http://www.instructables.com/id/Arduino-controls-cheap-RC-car-transmitter/[/box]
For more detail: Autonomous Arduino Car