Robopod is a simple arduino robot that uses antennas to detect obstacles. Robopod’s motors are controlled by an H bridge and powered by a nine volt battery. Robopods circuit is based on a breadboard for easy modification.
Step 1: Tools and Materials
Material
- Arduino uno
- Breadboard
- H Bridge
- 9 volt battery
- 9 volt battery snap
- Barrel jack
- 22 awg Wire
- 32 awg enamel wire
- Toggle Switch
- 2 Motors
- Corrugated Plastic
- 1/2 mdf
- Stiff Wire like a coat hanger
- oogoo
- 2 pen springs
- Paper clip
- 10K resistor
- Electrical Tape
- Velcro
- Clear Tape
Tools
- Drill press and/or Drill
- Drill bits
- Hot Glue Gun
- Xato Knife
- Soldering Iorn
- Clamp
- Printer
- Wire Strippers/Cutters
Step 2: CuttingThe Shell
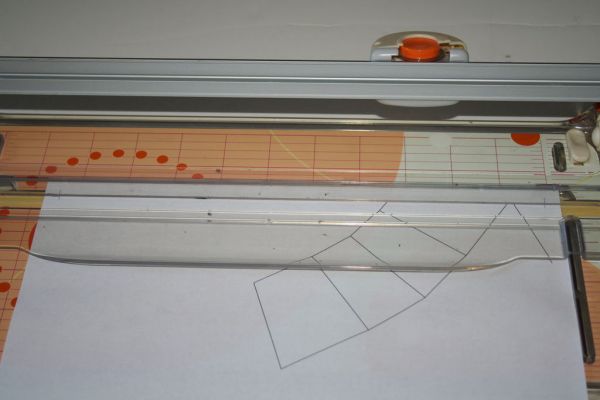
First download the pdf and open it up in Adobe Reader and press the print button. When the print menu comes up select “poster” under page size and handling; press print. Using a paper cutter or a knife and ruler cut off the excess paper using the crosses to align the ruler or paper cutter. Then tape the sheets together with scotch tape and roughly cut the shape out. Next cut a off piece of corrugated plastic slightly bigger than the template you just cut out. After that, tape the template to the plastic and cut on the outside lines with a ruler and knife. Then tape the template back on the piece you just cut out and cut half way through on the rest of the lines so the segments can bend along the cuts
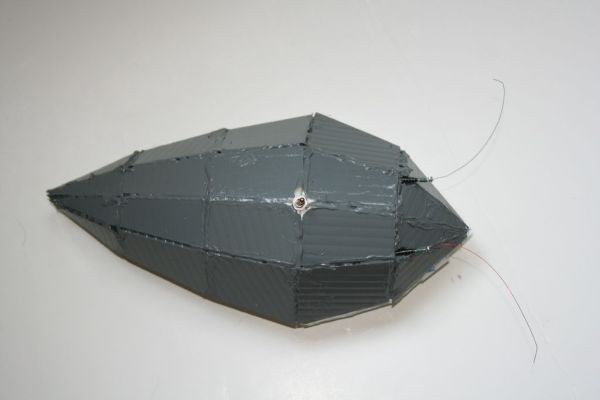
Step 3: Gluing the Shell
Start by folding the shell along the scored lines and tape it together. Then glue all the seams and score lines with hot glue except the bottom ones . Once the hot glue cools remove the tape and then cut along the bottom score line so that you have flat base and a top shell.
Step 4: The Base
First print off the pdf file at the bottom of the page and cut it out along the outside lines and tape it to the robot base. Next, cut the two small rectangles out of the base with a knife.
Step 5: The Wheels
First cut two 1/2″ squares and two 2″ square. After that clamp the two 2″ squares together and drill a hole in the center of the blocks slightly larger than your axle, next drill a hole about 3\8″ deep using a 1″ winged bit. Then drill a hole slightly larger than your axle in the approximate center of both the 1/2″ blocks and then sand the corners down. Next put your axle through the hole you drilled in the 2″ blocks and fill the one inch hole with oogoo. Then put one of the 1/2″ blocks on the axle and push it into the oogoo and wipe off the excess oogoo from round the 1\2″ block. Once the oogoo has cured unclamp the blocks and pry out the wheel, repeat for the other wheel. After that, drill a hole slightly smaller than the axle on the edge at the widest points of the base. Put the wheel in the cutout rectangle and insert the axle through the hole at the edge of the base into the wheel, repeat for the other side.
For more detail: Robopod the Arduino Powered Robot