Bring out your 3D glasses and enjoy viewing in a novel way! I have added a new dimension to my instructable. If you do not have 3D glasses, then you can make one yourself. The following link explains how to make 3D glasses ( link ).
Please Note: This instructable contains 3D images which are best viewed with Red and Cyan 3D Glasses. However, for those of you who do not have 3D glasses, this instructable also contains 2D images.
Every year about 700,000 vehicles get stolen in US. In fact, a car is stolen every 45 seconds.
We all love our cars and whether it is a roaring Lamborghini or a purring Prius, we are attached to it and wish that it never gets stolen.
I am very attached to my family car and take lots of precaution that I do not park my car in secluded places or double check that I always lock my car when I park it anywhere and always carry my car keys with me. However, I am still worried whether my car is safe. In order to get rid of these genuine worries, I decided to design my own low cost car tracking system.
In this instructable, I have explained the process of building one’s very own Global Car Tracking System -‘Athena’ – for a cost of just 100$. The steps for building this device is very simple and explained in a lucid manner. The skills required for you to build this is minimum (Basic knowledge about electronics and the Arduino IDE).
I have christened this device by the name ‘Athena’ because Athena is the Greek Goddess of navigation.
So what are we waiting for…..let’s get started…….
Step 1: Parts Needed:
[box color=”#985D00″ bg=”#FFF8CB” font=”verdana” fontsize=”14 ” radius=”20 ” border=”#985D12″ float=”right” head=”Major Components in Project” headbg=”#FFEB70″ headcolor=”#985D00″]
The following is a list of parts needed to build ‘Athena’ :-
- Arduino Uno
- Arduino GSM Shield (I have used a SIM900 GSM/GPRS Shield Module)
- GPS Module
- Adapter Plug for powering the Arduino
- 4pcs of LM7805 IC
- PCB
- Wires
- Male Header Pins
- Female Header Pins
- Project Enclosure[/box]
- Soldering Iron
- Solder
- Soldering Wax
- Drill
- Hacksaw
Step 2: The Circuit: Voltage Regulator Circuit
The Arduino and GSM shield operate at voltages between 5 volts and 12 volts. Although the car has a 12 volt battery and electrical system, the voltage can sometimes spike up and damage the Arduino if connected directly. Hence to be on the safer side, I have decided to use an LM7805 Voltage regulator to regulate the 12 volts input voltage to 5 volts. The LM7805 IC generates an output of 5 volts 0.5 amps. Since the GSM module can sometimes draw upto 2 Amperes of current, I have used 4 pcs of LM7805 IC to meet the requirement.
The Circuit :
- Cut the PCB using a hacksaw into a piece large enough to fit the 4pcs of LM7805 IC (Refer to Pic. 1).
- Arrange the LM7805 in a parallel connection on the PCB (Refer to Pic. 1) and bend the leads of the IC to connect them in parallel(Refer to Pic. 3)
- Solder Wires to the 12v Input of LM7805, Ground Input, 5v Output of LM7805 and Ground Output.
- Connect the Adapter plug to the 5v Output and Ground Output Wires. The final product should look like Pic. 5
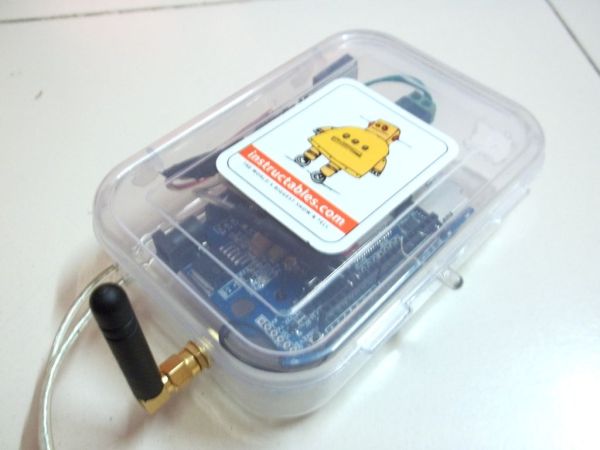
Step 3: Preparing the Project Enclosure: Drilling Holes
![]()
In this step you will drill the holes to mount the Arduino and the GSM Antenna to the project enclosure.
- Drill four holes at the bottom of the project enclosure to secure the Arduino Uno in it.
- Drill a hole on the left wall of the enclosure big enough for the USB cable to connect to the Arduino.
- Drill a hole on the right wall for the GSM Module Antenna.
- Drill two holes on the right wall for the Power Input wires.
Step 4: Wiring the GPS Module
The GPS module must be connected in a detachable manner to the Arduino Uno. If wires are soldered to the module, then the module cannot be reused for some other application or project. Hence I have used header pins to create a detachable connection between the GPS module and the Arduino.
For more detail: Athena: The Global Car Tracking System(3D Images)