The Arduino is perhaps the coolest thing on earth. There are many types, the Uno, the Mega, the Pro, the Pro Mini, etc. etc.
But one thing that often can be a problem is that you only have a limited number of inputs and outputs. There are many solutions for that, ranging from multiplexers to port expanders. But one thing that gives you up to 171 extra inputs is to use an old keyboard. And that is that this instructable is going to be about.
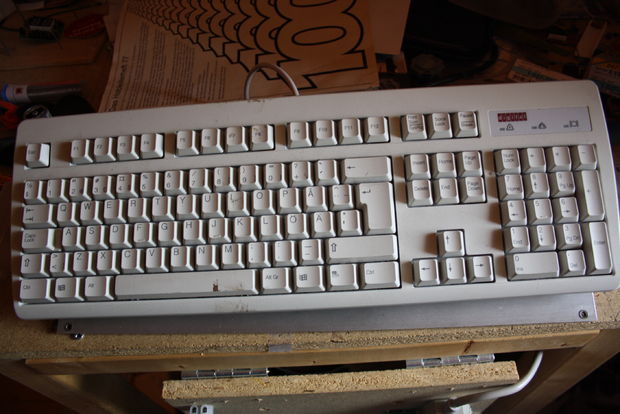
(The image it an example of things that can be used with this. As you can see, I only put up switches and relays. What’s because the keyboard controller only can handle non-time sensitive digital inputs.)
What you need
[box color=”#985D00″ bg=”#FFF8CB” font=”verdana” fontsize=”14 ” radius=”20 ”
border=”#985D12″ float=”right” head=”Major Components in Project” headbg=”#FFEB70″
headcolor=”#985D00″]
What do you need? First, an Arduino. Second, an old Keyboard what still works. And that’s pretty much all.
1. An Arduino.
2. An old PS2 keyboard. It will work with a USB keyboard, but will be extra work and will not be covered here. (You only need the controller PCB)
3. A PS2 jack. Optional, you can also cut the cable.
4. Some buttons or relays and some wires to connect the buttons to the controller PCB with.
5. The Arduino IDE . There are enough tutorials on how to install it spread around the WWW.
6. The PS2Keyboard library. See further down on how to install it.
7. A good idea to use this with.[/box]
Please note what the keyboard in the image is not the one I used. I have already demounted my keyboard long ago.
Installing the library:
1. Go to this page and click on PS2Keyboard.zip. A window will now come up asking what you what you want to do with the file. Click on open.
2. You will now have an explorer window (on windows. I can’t help you with other operating systems). Click on Extract all Files up to the left. Enter arduinoInstallPath /libraries (arduinoInstallPath is the place there you installed the Arduino IDE) and then click on Extract.
3. Go to arduinoInstallPath/ libraries/PS2Keyboard and delete the file “PS2Keyboard.cpp.o”.
4. Done.
After you now have all software installed it’s time connect the Arduino with the Keyboard. In this instructable I will cut the connector of from the cable, but if you later want it to be easily plugged into something it can be a good idea to use the connector.
1. Open up the Keyboard. You can throw away anything except the controller PCB and the cable.
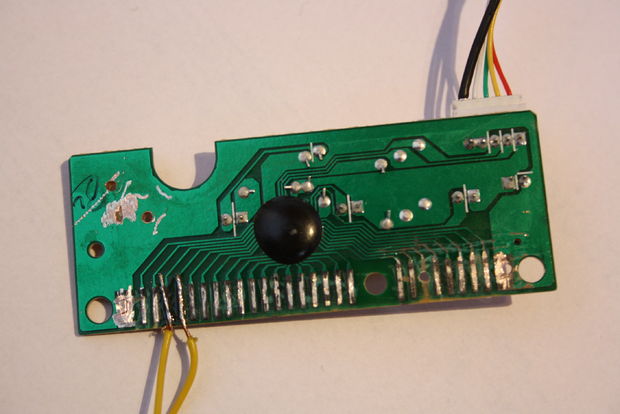
2. Use a Dremel or a sandpaper and make the small black pads on the controller PCB shiny by polishing them.
3. Solder wires to the polished pads. This can be hard, and you may need some practice, but it will work after some time. In the photo you can see two of the wires soldered to my controller PCB. as you can see, one of the pads in the right group was damaged as I tried if it would be easier to drill holes into the PCB for soldering the wires.
4. Then all wires are soldered. You can connect the PS2 cable to you Arduino. Use this schematic here for that. To find what cable goes to what Arduino contact, it can be useful to have something to check if there is a connection, the schematic and this .
5. Done!
If you want to find out what two pins are connected to what letter, use the code attached to check. Create a map somewhere on your computer, name it “keyboard_to_serial” and add the attached .pde file into that map. Open the Arduino IDE and open up the file. Upload it and then open the serial monitor. If you now connect pads of the PCB, the key what would have been pressed is shown.
For more detail: Extra inputs for Arduino with a keyboard