Welcome to my FIRST instructable,
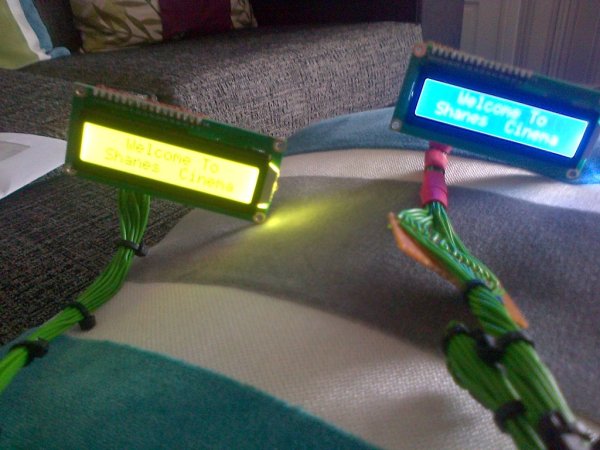
i will show you how to connect a 16×2 lcd display to an arduino,
follow these simple step by step instructions and you will have it done in no time 🙂
Tools Needed :
Soldering Iron
Wire Strippers
Pliers
Soldering Iron
Flux ( Liquid Or Solid )
Soldering Iron Cleaner
Tape Dispenser ( Makes Life So Much Easier )
Small Side Cutters
Permanent Marker Pen
Step 2: Solder Header Pins To LCD Display
We need to solder the header pins to the LCD display,
the header pins i have are 2.0mm and you need the 2.5mm pins to fit the LCD display,
so mine didn’t fit because the were to close together, so i decided to cut my header pins into groups of 2,
after i cut them into groups of 2, i could put 1 group of 2 in 2 pins,
when you insert them, turn the display over and apply a small amount of solder to each terminal,
ensuring that all the terminals are soldered,
they should all be the same length, not bent, loose or too short.
Step 3: Measure And Cut Stripboard For Display
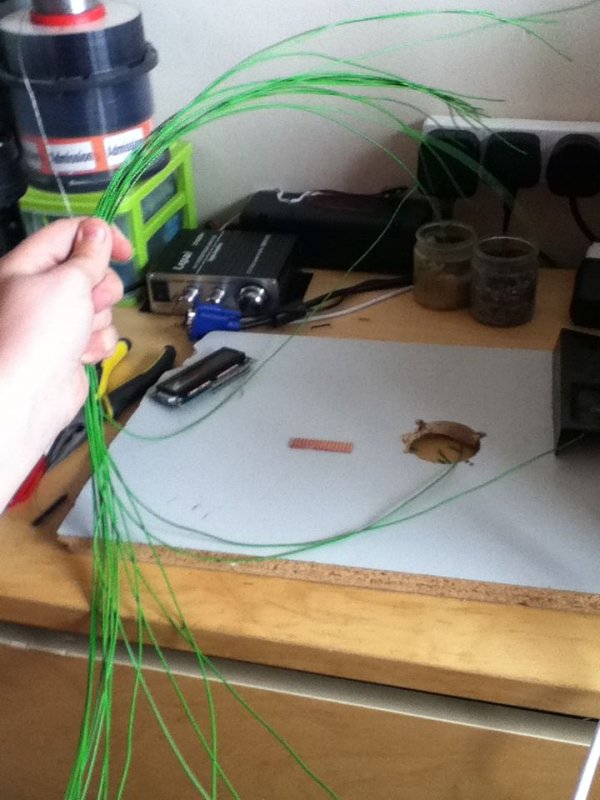
We now need to solder the display to strip board and attach wires to it,
first get the display and the strip board,
insert the display into the end of the strip board, ( Look at image )
When inserted, you then need to decide where you are going to put wires and mark the strip board at that length, ( look at image )
When you have decided where you are going to cut the strip board, you have 3 ways of cutting it,
1 Way :
you can clap the strip board using a vice and cut down the line with a junior hacksaw
2 Way :
you can use small side cutters to snip along the line ( HOWEVER, IT WILL DAMAGE TE BOARD TO THE RIGHT OF THE LINE, E.G IT WILL SHATTER THE OTHER SIDE IN LITTLE PIECES, BUT THE BOARD TO THE LEFT OF THE LINE WILL BE OK )
3 Way :
( THIS IS THE WAY I ALWAYS USE AND I GET A GOOD CUT EVERY TIME ! )
Get a Paper Cutter and insert the board to where the line is,
you then slide the cutting wheel up and down over the board about 8 times,
you will then have a small cut on the line you drawn,
all you have to now do is remove it from the paper cutter and with your pliers, line them up with the line and snap the board whilst applying pressure with pliers,
[box color=”#985D00″ bg=”#FFF8CB” font=”verdana” fontsize=”14 ” radius=”20 ” border=”#985D12″ float=”right” head=”Major Components in Project” headbg=”#FFEB70″ headcolor=”#985D00″]
Gather All The Items You Need 🙂
You Need The Following Items :
Arduino
LCD Display 16×2
Jumper Wires
Breadboard
Stripboard
Header Pins
Electrical Tape ( White If Possible )[/box]
For more detail: Connect A 16×2 LCD Display To An Arduino