Chachka is born!
Chachka is an Adafruit Trinket CLONE built from the ATtiny85 microcontroller. Because it is a current Adafruit product, it has a training guide and its own support forum and lots of sample code. All of this means that like an Uno clone, the Chachka will be well supported with firmware and libraries and other users.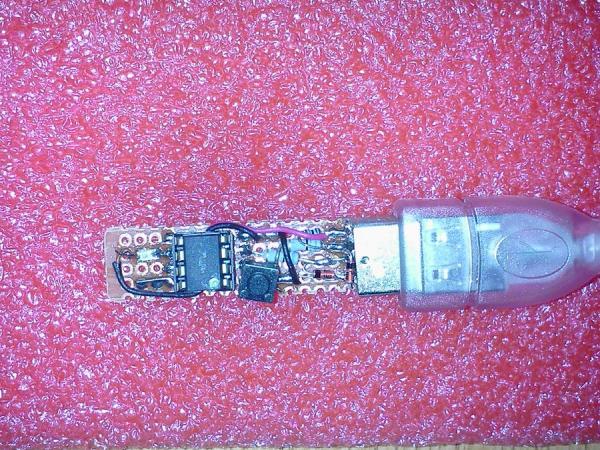
The Trinket in itself, is not expensive. But hacking is not about expense, it is about exercising total control over the hack. It is about dominance. Your soldering iron is not just for soldering but it is a lance to strike for freedom for open source hardware: the ultimate hacker treasure. Building your own clone from scratch is a great feeling.
The hardware schematics are here:
http://learn.adafruit.com/introducing-trinket/downloads
The firmware is here:
https://github.com/adafruit/Adafruit-Trinket-Gemma-Bootloader
This is an advanced project and you will need soldering skills as well as software skills and a level of competency necessary to install bootloaders on the ATtiny series of Atmel microcontrollers. You will need an AVR-ISP programmer or the knowledge of how to configure and use your UNO in the ArduinoISP mode.
Building your Chachka
You will need a piece of scrap perfboard, the width is 0.50 inches x 2.0 inches (approx.) Approximately 1/3 inch of the perfboard will be under the USB Male “A” connector. With a hobby knife or rotary tool, the board needs to be shaped so that the metal shell “ears” can be crimped around the board. The 4 USB leads from the shell should be positioned on top of the perfboard so that you can wire the zeners and resistors in this area. Keep the connections neat and short – we will coat the entire area later with quick-set epoxy. For now, make certain your soldering is done cleanly and is done rapidly to avoid damage to the Zener diodes.
Note: Adafruit uses a 1500 Ohm pull-up resistor. I specified an 1800 Ohm value. I have seen values in other articles as high as 2200 Ohm and lower than 1500 Ohm. Feel free here to deviate and use the exact Adafruit value (or as close as common values will allow) or use the value I specified based on a couple of years of V-USB and tiny85 bench experience.
Note: As the completed Chachka will be inserted and removed numerous times from the PC, you want to take extra care with mechanical construction. The epoxy coating will generally be adequate to avoid flexing to the degree that solder joints will break away, but good initial mechanical construction will certainly help prolong the life of the Chachka.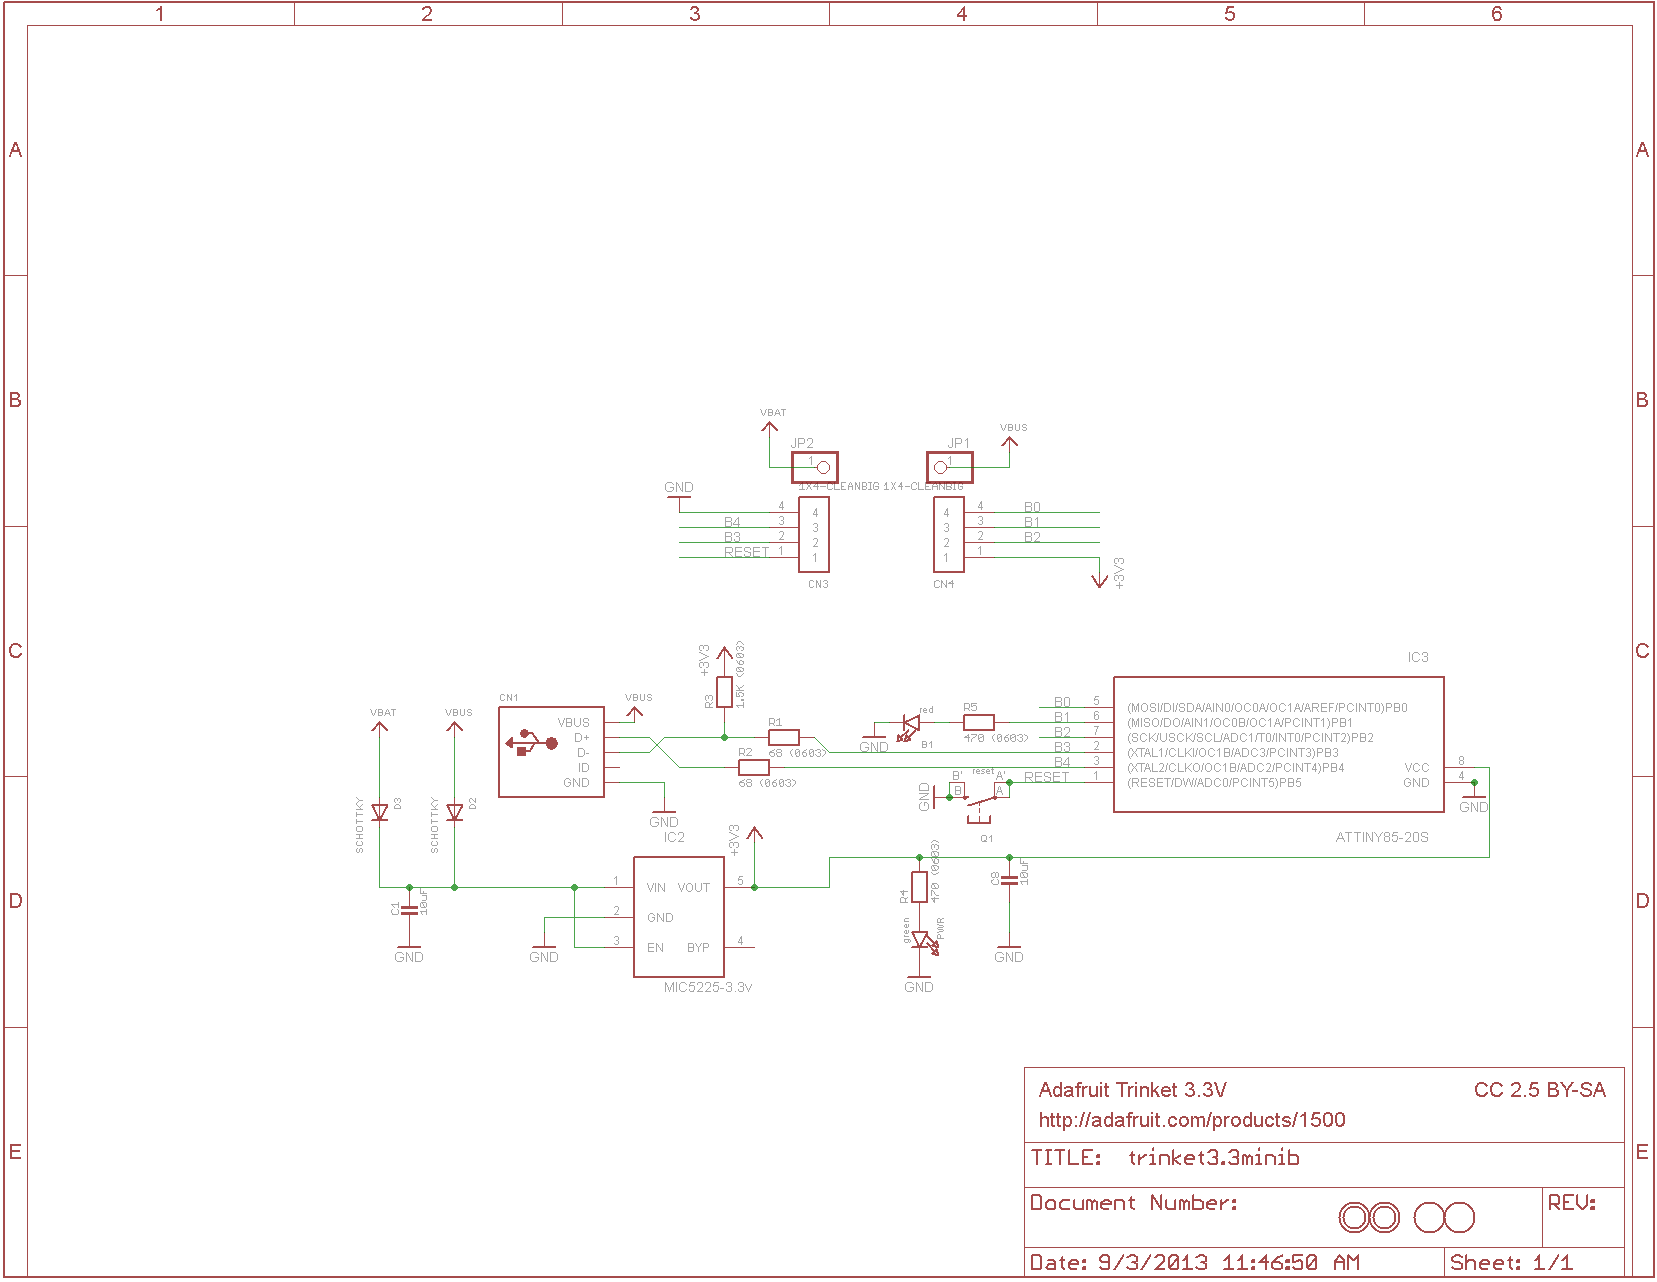
Note: If this is your first V-USB project, you may definitely wish to use an 8-pin DIP socket for your tiny85 microcontroller. I have found that the socket, while adding cost, can prevent massive hair loss. Your option.
For more detail: Chachka (Trinket clone)