How cool would it be to have your own Arduino weather station right in your backyard? Sounds fun? Geeky? Having your own weather station means that you don’t need any more inaccurate results from the weather channel! You can even log the data and play around with it. Set mood lighting according to the weather? Why not? This tutorial will get you kick-started with your own DIY Weather Box to chart out local weather. What are you waiting for? Let’s get started!
Bill of Materials

- Arduino Uno
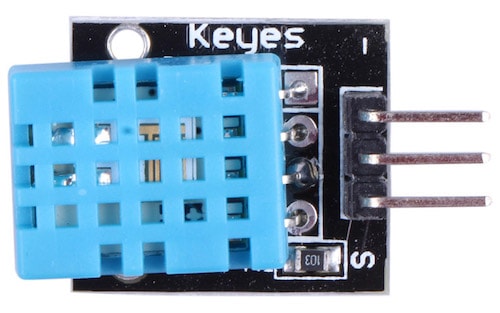
- DHT11 (Temperature and Humidity Sensor)
- 16*2 character LCD display
- Potentiometer
- Jumper Wires (Male to Female(MF) and Female to Female(FF))
- Header Pins
- Glue gun
How Does it Work?

So we’ve got this ultra-low-cost sensor called the DHT11. I
t uses a capacitive humidity sensor and a thermistor to measure the surrounding air and spits out a digital signal on the data pin. Since the output data isn’t analog, it requires some coding to get the data, but don’t sweat it. It’s got its own library that takes care of the hard parts. It’s fairly simple to use but requires careful timing to grab data. You can only get new data from it once every 2 seconds, but that’s more than enough for our Arduino weather station.
Connecting the Headers for the Arduino Weather Station
Since you’re going to be using an LCD display for your Arduino weather station, you’ll need to solder the pin headers onto the LCD. The best way to do this is to affix header pins onto the Arduino and use jumpers to connect it to the LCD display.
- Place the header pins onto the ports of the Arduino, and make sure that there’s contact and that the header pins are not loose.
- Carefully, using a glue gun, glue the header pins onto the Arduino, keeping sure that it doesn’t get loose while you’re doing it.
- Now solder the LCD display onto the header pins after aligning it on top of the LCD display.
Wiring the Circuit for the Arduino Weather Station
Connect the Arduino, LCD display, DHT11 sensor, and potentiometer as shown in the connection diagram below.
Read More: Arduino Weather Station