I want use the Genuino 101 by Intel and Arduino for a project that regards health, but I want to use all the characteristics of the Arduino 101. One of most important characteristics of this board, I think, is the BLE connection. Then I want to connect my phone with Arduino 101 for my Autogenic Training. I can monitor my pulse during the sessions. The monitoring is possible by use of the pulse sensor AMPED by pulsesensor.com. I have used many other sensors, but pulse sensor is the best for me! It’s a really accurate and simple sensor. The hardware has only three wires: 5v, GND and SIGNAL. You can connect the signal to your Arduino 101. I use the 3.3v power because it is better for the Arduino 101 board. The board, in fact, also supports the 5v input, but it’s better to use the 3.3v input.
The Hardware connections
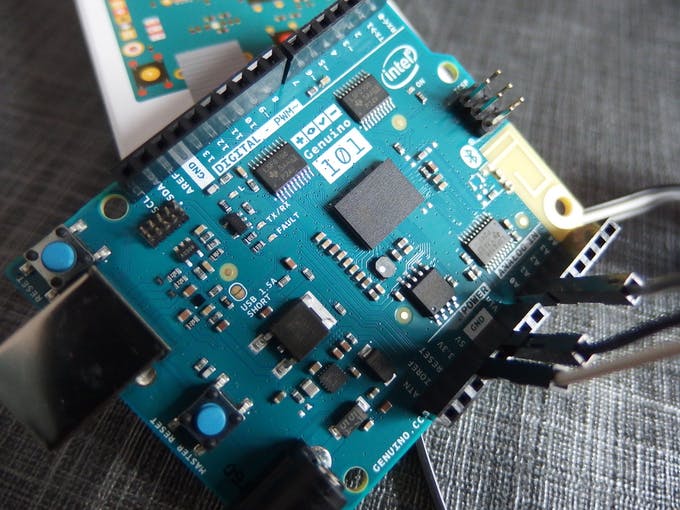
The hardware connections are very simple. You must be connect the sensor GND to GND pin of Arduino 101, the sensor VIN to 3.3V pin on the Arduino 101 board, and Signal pin of pulse sensor to A0 pin on the Arduino 101 board.
The software
The software tools are libraries, code, and phone app for iOS or Android.
The Phone APP
You can read the value by using an app on your phone. The app that you can use with the BPM rate monitor is nRF app. This is a free app for iOS or Android.
Follow the link and download the app:
Pulse Sensor BPM
The first library is PulseSensorBPM.h by Bradford Needham, North Plains, Oregon, USA @bneedhamia, https://www.needhamia.com. Download the libraries by: https://github.com/bneedhamia/PulseSensorBPM.
Curie BLE
The second library is CurieBLE.h – official libraries of CurieBLE. Open the library manager on Arduino IDE, and search Curie BLE. Also, you must add the Arduino 101 board by clicking “Board Manager” and adding Arduino 101 board. I use a code from the Arduino official site (Arduino.cc) to connect the Arduino 101 to the phone. The code is really simple and intuitive. This code send A0 value to nRF app.
Read More: Arduino 101 Curie iOS Pulse Sensor