Step 1: Supplies
most can be found at radioshack and at hardware stores.
If you cant find any etchant solution I made my own on STEP 6.
+ iron
+scisors
+tape
+soft gloss photo paper
+Arduino
+wii nunchuck
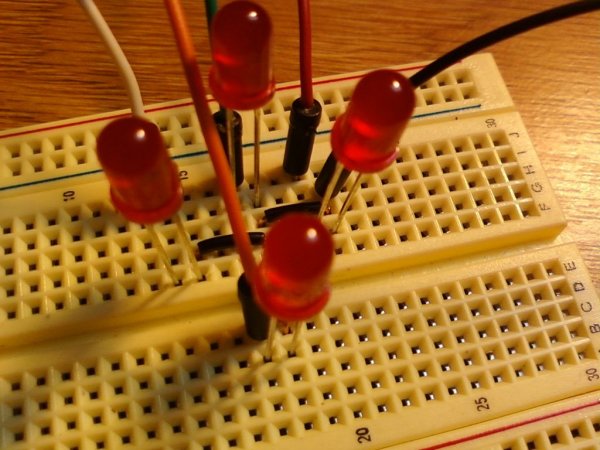
+LED’s
+brake cleaner
+etchant solution (is makeable, see step 6)
+double sided PCB .062″ thick (you do have a bit of lee way)
+solder
+hack saw
 Step 2: Printing our transfers
http://www.mediafire.com/view/?h81q6efr03sw326For those of you who want to do it old school style…
start by downloading DipTrace
http://www.diptrace.com/download.php
and the Wii Nunchuck layout
http://www.megaupload.com/?d=0212FN11
1. install diptrace by following all the on screen instructions
2. Start Diptrace
3. go to file>open and locate “wii_nun_chuck_adapter.dip” (image 2)
4. click open
5. go to view> click mirror (so it is checked)
6. now it should look like image 3
7. Load a piece of photo soft gloss paper into your printer (image 4)
8. now go to file>print> and select your laser printer (image 5)
9. press PRINT.
10. now you should have a nice looking transfer.
WOOO HOOOO we are almost there. sorta
Step 3: Preping the transfer
2) Now what we want to do is fold the paper so the two sides line up. you can use a light to help you look through the paper.
3) Once its lined up make a nice clean crease. (image 2)
4) Now we use some tape to make sort of a tube that the PCB will slide into. (image 3)
5) The transfer is ready
Next step is to cut and prep the board.
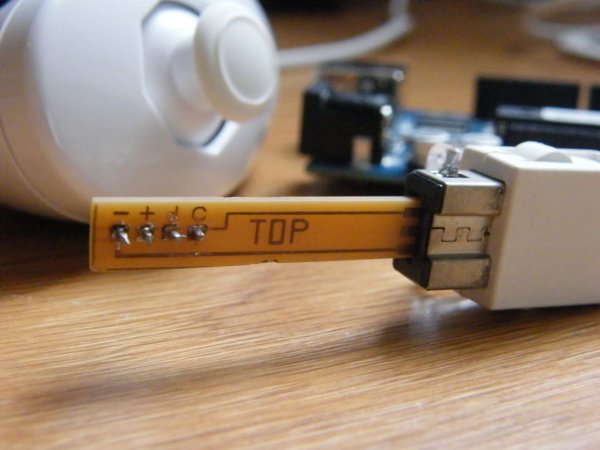
Step 4: Cutting and preping the PCB
1) Remove your new board you just bought at radioshack from its bag
2) I recommend cutting out one of the transfers and using it as a template to get the dimensions right
3) Place the transfer on the corner of the board and with a knife score around it
4) Then I placed the board in my vice and used a hack saw to cut it
or if you can get your hands on a band saw that would be much easier
5) Once the board is cut out. (image 1) take a piece of 800 grit sand paper and sand down the edges
6) Finally clean of the board with some rubbing alcohol or water making sure to dry it good if used water
next we will transfer the design onto the board
Step 5: Transfering the design
So we have our tube like transfer and out cut to size board.
1) Take your board and slowly slide it into the transfer
2) Next use some object (i used a paper clip) to try to adjust the board so it lines up with the design
3) Now place the transfer and board on some surface. I put a paper bag down so it wouldn’t mess up my desk.
4) Now what ever iron you are using turn it up to the HIGH POSSIBLE SETTING (image 4)
5) Once the iron is warmed up take it and press down on the board with about 20lbs of force for 20 seconds. (image 5)
6) Turn it over and press for another 20 seconds.
7) Turn it over again and let it cool for 1 minute or so and press for another 10 seconds.
8) Turn it over again and press for another 10 seconds.
9) Let it sit for 2 minutes.
10) Now you can cut the tape and peel off the paper. hopefully the toner adheared to the board. (image 6)
11) Now go to your sink and using a paper towel and scrub off the white paper until you can see your crispy black lines.
12) If not use the brake cleaner and clean off the PCB completely and start over 🙁
PS: If you are lost in any of these processes this is a good video showing you how to transfer your PCB design.
http://www.youtube.com/watch?v=urv6jArKp6M
Now we are almost done. WOOO HOOO!!!!!!!
For more detail: Wii Nunchuck Adapter