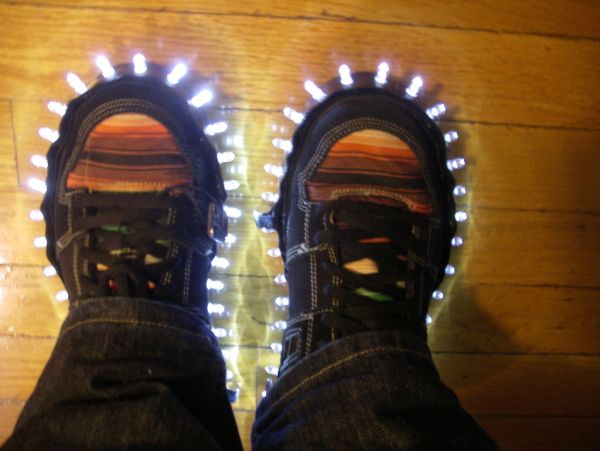
Create your own Super Bright LED-lined sneakers that blink with multiple patterns.
1.0 FEATURES:
– 1 color LEDs
– 6 patterns
– reed sensors + magnets that give you control to step through patterns
– detachable velcro design
– small, wearable microcontroller + power
Step 1: Parts & Tools
Super Bright LEDs (35 or more per sneaker, depending on shoe size)
120 Ohm resistors (1 or every LED, ohm-age flexible)
Electrical Tape
Sticky Back Velcro
2 RBBB (Really Bare Bones Board Arduino)
2 Slde switches
24 gauge bare wire
2 Reed Sensors
2 6V (medical) batteries
2 AA plastic battery holders
Servo wire & connectors
2 Neodymium magnets
2 iPod nano arm bands
Spare piece of plastic (approx 1″x1″)
Tools:
Tape measure
Ruler
Sharpie
Awl, pin, or something to poke a hole with
Soldering station (iron & solder)
Scissors
Needle-nose pliers
5 minute Epoxy
Mini hand saw
Sandpaper
Cutters
Arduino code:
SuperBriteLEDSneakers1_0.pde
 SuperBriteLEDSneakers1_0.pde
Step 2: Make Strips
Measure sneaker
Measure the circumference of your sneaker. Add 6 inches to that figure and cut two strips of Sticky Back Velcro to length. Put aside the “loop” side of the velcro for now.
Cover with electrical tape
Cover the sticky side of the “fuzzy” velcro strip with electrical tape. Remove the backing from the fuzzy piece of velcro (it’s very sticky!). Carefully attach electrical tape (sticky side to sticky side) to the velcro. This is going to be the exterior backing for the LEDs so make it look smooth. Do it slowly so you don’t make any wrinkles. I used long strips and overlapped them to cover the entire area. Trim off any excess with a scissors.
Step 3: Measure & Poke holes
Use a ruler and a sharpie to mark off 3/4″ segments on the electrical-tape side of the fuzzy velcro strips.
Take your poker (pin, awl, etc.) and poke two small holes on each side of each mark. This is where you will thread your LED through later on. Make the holes about 3/16″ apart.
I used the pointy side of a circle cutter to make the holes and then later re-poked them with a pin to make the holes bigger. You probably have a better tool than mine to get this done easily.
Step 4: Insert LEDs
Check LEDS
Before inserting…check each LED to make sure it’s working! I quickly checked mine with my breadboard + Arduino.
Insert
My LEDs came from Ebay. You can get packs of 100 super bright LEDs for a few bucks. My sneakers each needed 35 LEDs, so 1 pack was plenty for one pair of sneaks.
Poke each LED through the holes you just made. I chose to orient them so that the negative (shorter lead) was on the top when holding the velcro strip vertical. Insert enough LEDs to wrap around the entire shoe (remember you have some extra velcro on the end).
Bend
Once all the LEDs are in, bend the negative leads to the left, flat against the fuzzy stuff.
[box color=”#985D00″ bg=”#FFF8CB” font=”verdana” fontsize=”14 ” radius=”20 ” border=”#985D12″ float=”right” head=”Major Components in Project” headbg=”#FFEB70″ headcolor=”#985D00″]Super Bright LEDs
120 Ohm resistors
Electrical Tape
Sticky Back Velcro
2 RBBB (Really Bare Bones Board Arduino)[/box]
For more detail: Super Brite LED Sneakers 1.0 using an Arduino