This was a 6 week project created for the Spring 2012 Things That Think course at the University of Colorado at Boulder.
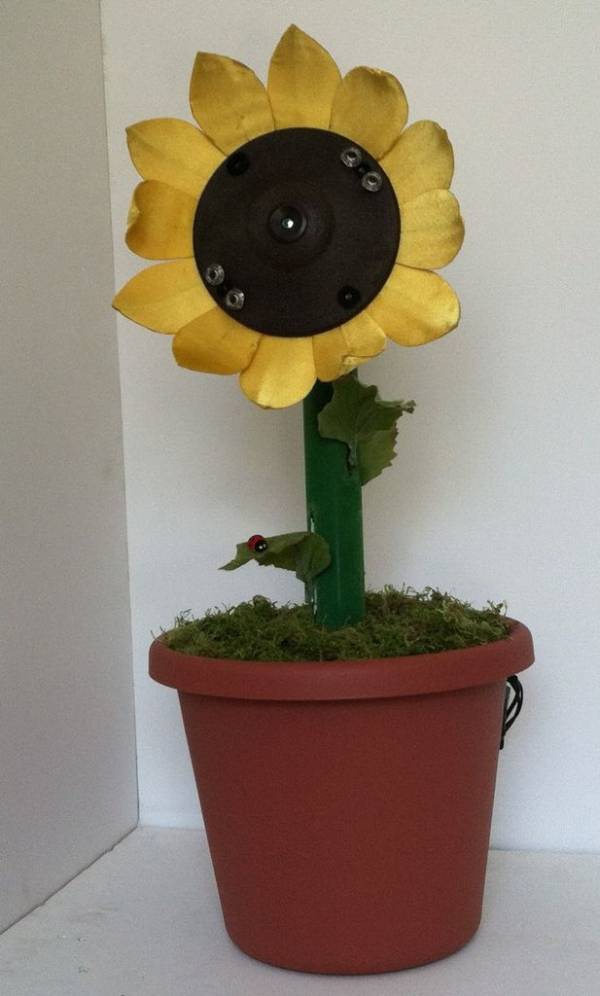
Our project is an autonomous Sunflower. As in nature, the highest priority for our flower is sunlight, necessary for photosynthesis. Our Arduino controlled sunflower is constructed using 3D printing and laser cutting technologies. Primarily, our flower finds and follows the brightest source of light. This flower is different than your typical sunflower, because when a person comes close enough, the flower moves its petals to acknowledge their presence. We were able to utilize Shape Memory Alloy (SMA), in the form of a nickel/titanium alloy (Nitinol), to facilitate the opening and closing of the flower’s petals. Our goal was to combine technology with a green initiative to create a truly interactive plant.
Step 1: Prototyping
Prototyping is a very important step in any project. Since our main goal of this project was to have the sunflower find and follow a light source, our first prototype was a simple single axis light finding machine. This prototype consists of a seesaw like apparatus with a photoresistor on each end of the see saw. We use a stepper motor to angle the seesaw towards the brightest source of light. This is a simple mechanism where the goal is to get the two photoresistors to have the same value. The motor will pull the seesaw from the end where the photoresistor has the higher value (more light), and stop when the sensor values are within an allowable range of each other. In order to make sure the motors did not continue to pull past the limit of the seesaw mechanism, we used small momentary switches that we’ll call “limit switches”. We programmed the Arduino so that the motors would not turn in a given direction if the limit had been reached.
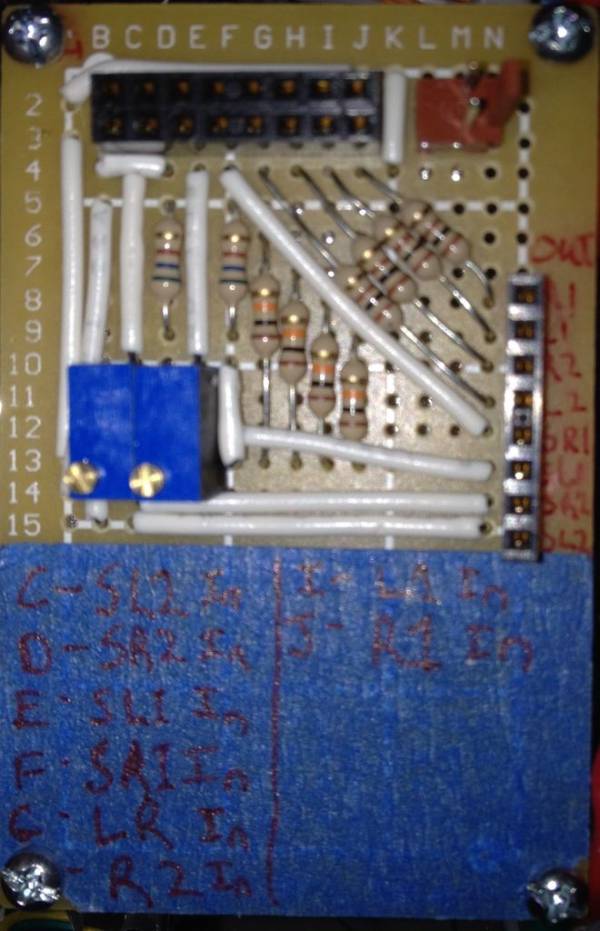
We used a simple motor driver circuit with an SN754410 H-Bridge to run the motor in this prototype. The motor was powered by a 6-volt lantern battery.
Measure the flower pot inside diameter at the bottom and top of the pot. Use these dimensions to design a base that fits inside the pot snugly. Ours is made out of ¼” thick clear acrylic, and is composed of 3 circular parts and two flat-sided boxes. The lower box holds the motors inside, and has bolt holes cut out for mounting the motors. The upper box holds the PVC pipe fitting on both sides, which makes it nice and sturdy, providing a good support for the PVC stem. Cut out the parts on the laser cutter, using ¼” acrylic. Make sure you do enough passes so that the laser cuts all the way through.
Assemble the case using the acrylic glue, making sure the parts are squared up snugly with each other; use a clamp to hold them in place while the glue sets.
We cut a hexagonal piece of acrylic that fits around the PVC hex fitting that holds it tightly and keeps it from spinning.
Step 2: Acrylic Base
Measure the flower pot inside diameter at the bottom and top of the pot. Use these dimensions to design a base that fits inside the pot snugly. Ours is made out of ¼” thick clear acrylic, and is composed of 3 circular parts and two flat-sided boxes. The lower box holds the motors inside, and has bolt holes cut out for mounting the motors. The upper box holds the PVC pipe fitting on both sides, which makes it nice and sturdy, providing a good support for the PVC stem. Cut out the parts on the laser cutter, using ¼” acrylic. Make sure you do enough passes so that the laser cuts all the way through.
Assemble the case using the acrylic glue, making sure the parts are squared up snugly with each other; use a clamp to hold them in place while the glue sets.
We cut a hexagonal piece of acrylic that fits around the PVC hex fitting that holds it tightly and keeps it from spinning
Step 3: Flower Petals
This step involves constructing petals for our flower. We wanted to make petals that moved in response to some stimulus. We also wanted to have the petals display a less robotic movement. After some research on Shape Memory Alloys (SMA), Flexinol muscle wire was chosen as the material of choice. When heated, Flexinol contracts to 3-5% of its length and returns as it cools. It is a robust material that can be cycled millions of times and is easily controlled by Arduino. Our favorite part about this material is the organic motion that it gives the flower!
The petals are constructed from a heavy card stock paper as the main support material. The muscle wire is then attached to one side of the paper petal. The circuit is completed using copper tape since it is flexible, solderable and generally easy to work with. The Flexinol is crimped at both ends and soldered at the crimps to the copper tape. Once in place, the wire can be sewn using a needle and thread to the paper.
When a current is passed through the Flexinol, it contracts, causing the petal to bend inward (on the side the wire is attached to). As the wire cools, the paper stretches the wire out and the petal returns to its original shape.
We used a synthetic fabric to wrap the paper petals to give them a more aesthetically pleasing look. This was done by cutting out a piece of fabric for the front that was slightly larger than the paper petal. Fold the edges over and glue using a hot glue gun. The back side of the petals was covered in the same manner, but using a piece of fabric that was the same size as the petal, for a nice clean fit.
For more detail: Sunflower Automaton